Introduction to ASUS Routers
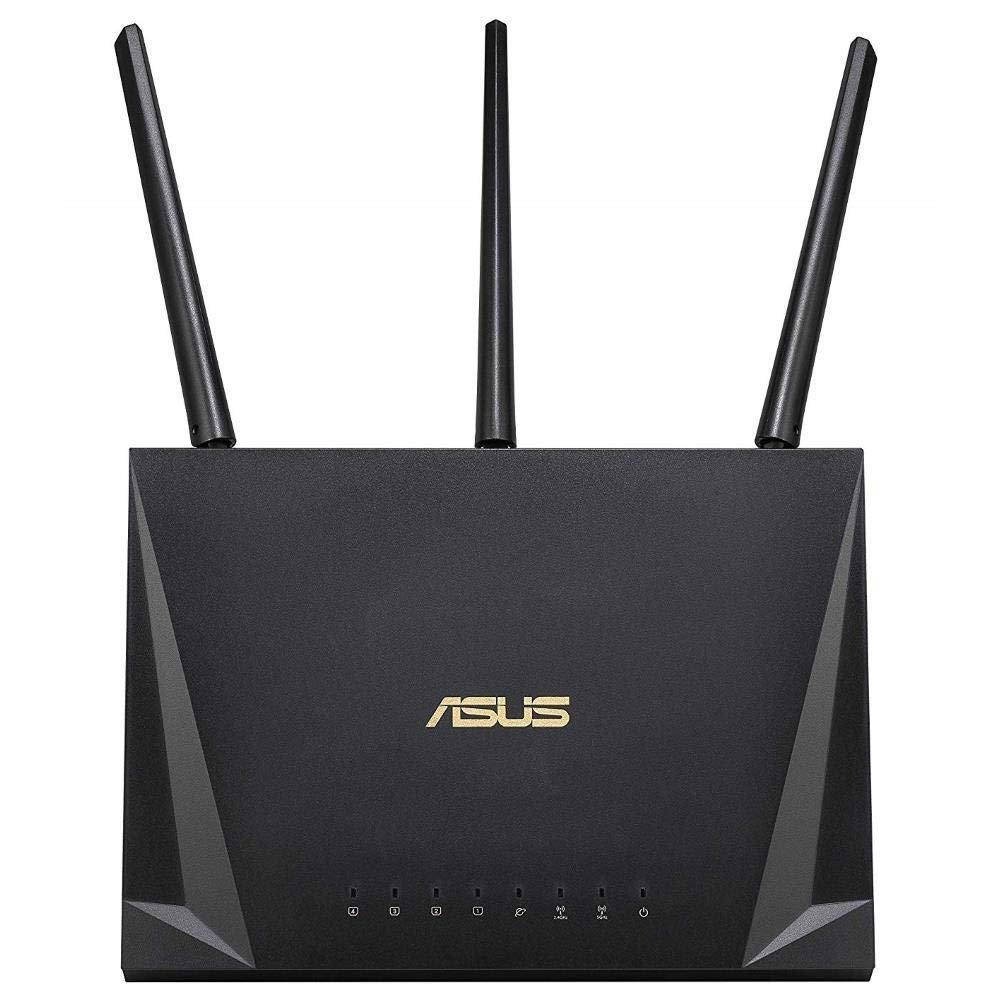
ASUS routers have gained popularity for their performance and reliability. A router is a key part of your home network, directing traffic between your devices and the internet. ASUS offers a range of routers suitable for various needs, from basic web browsing to high-intensity gaming.
Their user-friendly interface makes it easy to access ASUS router settings. Routers from ASUS also come with advanced features such as AiProtection for enhanced security, adaptive QoS for prioritizing traffic, and AiMesh for seamless whole-home coverage. Before you can use these features, you need to set up and configure the router properly.
To get started, ensure you have all the necessary equipment, such as power adapters and network cables. Additionally, a stable internet connection from your service provider is crucial. By following the step-by-step guide in our blog, you’ll be able to access and configure your ASUS router to suit your specific networking needs.
Take note that to access ASUS router settings, you will usually need a computer or a mobile device. You can connect to the router’s network and navigate to the router’s web interface using a web browser. This process is simple and typically requires the default login credentials provided by ASUS.
Throughout this guide, we will cover everything from the initial setup to securing your router, and optimizing its performance. With our helpful instructions, you can maximize the potential of your ASUS router and enjoy a stable and secure home network environment.

Preparing for ASUS Router Setup
To ensure a smooth setup process for your ASUS router, careful preparation is essential. Taking the time to prepare will save you from potential issues down the line. Here’s what you need to do:
- Check Your Internet Connection: Verify that you have a working internet connection. A quick test on any device connected to your existing network should suffice. Without an active internet, the setup cannot proceed.
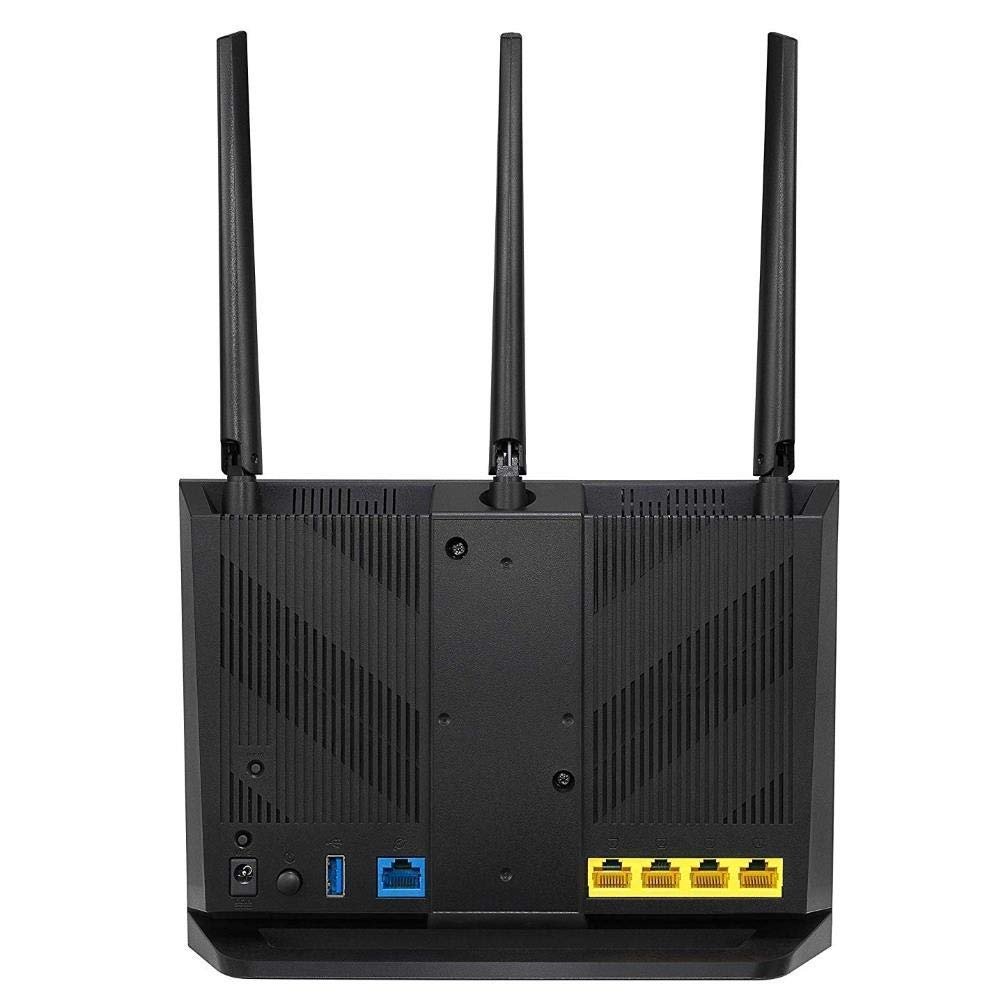
- Gather Necessary Equipment: Collect your router, power adapter, and network cables. Make sure you have at least one ethernet cable for connecting the router to your modem.
- Find the Ideal Location: Place your ASUS router in a central location. This helps in avoiding signal interference and maximizes Wi-Fi coverage.
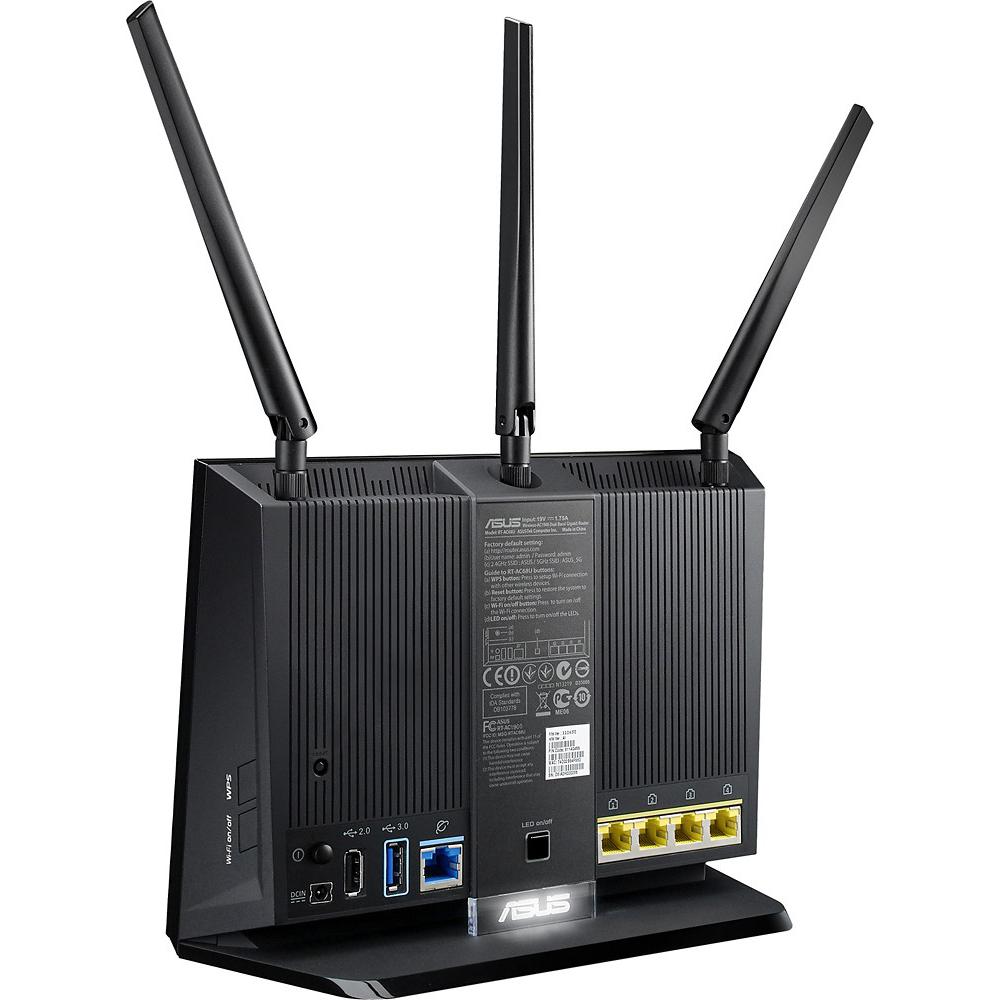
- Note Down Default Access Credentials: Usually, the default credentials to access ASUS router settings are provided on a label at the back or bottom of the router. Have these at hand to save time.
- Prepare a Device for Setup: You’ll need a computer, laptop, tablet, or smartphone to access the router’s web interface. Ensure the device’s battery is charged or it’s connected to power.
- Update your device: Before beginning, make sure the device you’ll use for the setup is updated. This can help avoid compatibility issues when accessing the router interface.
By following these preparatory steps, you can move on to the actual setup with confidence. The next phase will involve connecting to the ASUS router and tweaking settings to your preference.
Accessing the ASUS Router Interface
Successfully preparing for the ASUS router setup leads to the next vital step: accessing the router’s interface. This is where you will manage your router’s settings and start the configuration process. Follow these straightforward steps to gain access to ASUS router settings:
- Connect to the Router: Use an Ethernet cable to link your computer to the ASUS router, or connect via Wi-Fi by joining the network listed on the router’s label.
- Open a Web Browser: Launch any web browser on your device. This could be Chrome, Firefox, Safari, or Internet Explorer.
- Enter the Router’s IP Address: Type in the default IP address into the browser’s address bar. For ASUS routers, this is typically “192.168.1.1” or “router.asus.com”. Press ‘Enter’ to proceed.
- Login to the Interface: You’ll be prompted to enter a username and password. Use the default access credentials found on your router’s label unless you have changed them previously.
- Access the Dashboard: After logging in, you will see the ASUS router’s dashboard. This is the control center from where you’ll configure your network.
By accessing the router interface, you are ready to make the router work to your needs. The interface is user-friendly, giving you clear navigation to all the configuration options. In the upcoming sections, we’ll dive into setting up basic functions and explore advanced features that ASUS routers offer. Stick to these steps to ensure a hassle-free experience and to take the first step towards a custom-configured home network.

Configuring Basic ASUS Router Settings
After accessing the ASUS router interface, it’s time to configure the basic settings. This ensures that your network functions correctly and as per your requirements. Here’s how you can adjust the basic settings:
- Set Up a Network Name (SSID): Choose a unique name for your Wi-Fi network to make it easily identifiable. Keep the name simple but avoid personal information for security reasons.
- Secure Your Wi-Fi Network: Always use a strong password for your Wi-Fi network to safeguard against unauthorized access. A combination of letters, numbers, and symbols works best.
- Change the Default Login Credentials: To increase security, it’s essential to change the factory-set username and password for router access.
- Update the Firmware: Check for the latest firmware version and update your router. This step is crucial for security patches and performance improvements.
- Configure Internet Connection: Enter the details provided by your ISP. This includes selecting the connection type and filling in any required information like a username and password if you’re using a PPPoE connection.
- Adjust the Time Zone: Set your router to the correct time zone. Accurate time settings are important for scheduling features and logging events.
By configuring these basic ASUS router settings, you’ll establish a strong foundation for your home network. Remember, the security of your network starts with these initial steps, so take the time to configure them properly.
Setting Up Wi-Fi Networks on ASUS Router
Once the basic setup of your ASUS router is complete, the next critical task is to establish your Wi-Fi networks. Follow these simple measures to set up a secure and efficient Wi-Fi network:
- Create Separate Networks for Different Bands: ASUS routers often support dual-band Wi-Fi. Set up distinct names (SSIDs) for the 2.4GHz and 5GHz bands to optimize device connectivity.
- Optimize Network Security: Choose a robust encryption method like WPA2 or WPA3 for your Wi-Fi networks to protect your data.
- Limit Wi-Fi Range if Necessary: If you want to restrict the Wi-Fi range, adjust the transmit power settings so it does not reach unwanted areas.
- Hide Your SSID: For added security, consider hiding the SSID of your network. This makes it less visible to others searching for Wi-Fi networks.
- Allocate Wi-Fi Channels: Auto-assign or manually select Wi-Fi channels to reduce interference from other nearby networks.
- Use Guest Networks: Set up guest networks with different access privileges for visitors, keeping your main network secure.
- Activate Parental Controls: If needed, employ parental controls to manage when and how individuals can use the internet.
- Save Configurations: After setting your networks, don’t forget to save the configurations. This ensures all changes take effect immediately.
With your Wi-Fi networks configured, you can enjoy seamless internet access across your devices. The ASUS router interface provides easy navigation to these settings, ensuring you can tweak them whenever necessary. Remember to regularly update passwords and settings to maintain network security and performance.

Advanced ASUS Router Features
Once you have set up the basic configurations for your ASUS router, exploring the advanced features can enhance your network’s capabilities. ASUS routers come with an array of powerful tools designed to improve your online experience. Here’s how you can make the most of these advanced options:
- AiProtection: This feature offers real-time network monitoring and protection against security threats. It keeps your devices safe while surfing the web.
- Adaptive QoS: Prioritize bandwidth for different activities or devices. It ensures smooth streaming or gaming even when the network is busy.
- AiMesh: Combine multiple ASUS routers to create a whole-home Wi-Fi network. AiMesh provides seamless roaming and uniform coverage.
- VPN Support: ASUS routers allow you to set up a VPN server or client. This enhances online privacy and enables remote access to your network.
- Traffic Analyzer: Gain insights into your network’s usage patterns. It helps you manage and monitor internet traffic effectively.
- USB Applications: Connect USB storage or printers to your router. Share files and printers across the network easily with this feature.
- Cloud Services Integration: Access your network remotely via ASUS’s dedicated cloud services. Manage your network settings from anywhere.
- Game Boost: Gamers can enjoy an improved online experience with lower latency. Game Boost analyzes and optimizes your network traffic.
Incorporating these advanced features into your ASUS router setup adds an extra layer of functionality to your home network. While some settings might need a bit of technical know-how, ASUS’s interface is structured to assist you every step of the way. Always consult the user manual or online support for detailed guidance on these advanced settings. With proper setup, your router will not just connect devices but also protect, optimize, and extend your network’s capabilities.
Securing Your ASUS Router
After configuring your ASUS router, securing it is vital to protect your network from unwanted access and potential threats. Here are key steps to enhance the security of your ASUS router:
- Change Default Admin Credentials: The first security measure is to change the default username and password used to access the router’s settings. Create a unique and strong password.
- Update Firmware Regularly: Manufacturers often release firmware updates that contain security enhancements. Make sure to keep your router’s firmware up-to-date.
- Enable WPA3 Encryption: If available, use the latest Wi-Fi Protected Access protocol, WPA3, for the strongest encryption. If not, WPA2 should be your default choice.
- Disable WPS: While Wi-Fi Protected Setup (WPS) is convenient, it can be a security risk. It’s best to turn it off.
- Use a Firewall: Most ASUS routers have a built-in firewall. Ensure it is enabled to monitor incoming and outgoing traffic.
- Filter MAC Addresses: Restrict access to your network by allowing only devices with known MAC addresses to connect.
- Deactivate Remote Access: Disable remote management unless you need it for specific situations, and then only use it with a VPN.
- Create Guest Networks: Offer guests Wi-Fi access without giving them entry to your main network by setting up a separate guest network.
Securing your ASUS router is imperative to ensure your personal data remains safe and your devices are protected from intruders. Implementing these measures can greatly reduce the risks and help maintain a secure network environment.
Troubleshooting Common ASUS Router Issues
Even the most reliable ASUS routers may encounter issues from time to time. Troubleshooting is a critical skill to quickly get back online. Here, we highlight common problems and effective solutions.
- Unable to Access Router Interface: If you can’t reach the router’s login screen, ensure the device is powered on and check the connection. Also, verify you’re entering the correct IP address.
- Forgotten Login Credentials: Reset your router to its default settings if you’ve forgotten your admin login details. Use a paperclip to hold the reset button, typically for about 10 seconds.
- Slow Internet Speeds: Test your connection directly from the modem to isolate the issue. If speeds improve, adjust your ASUS router settings or move the router to a better location.
- Wi-Fi Connectivity Problems: Restart your router and the device facing the issue. If problems persist, check for Wi-Fi interference or update your router’s firmware.
- Firmware Update Fails: Ensure a stable connection during the update process. If the update doesn’t complete, try to update manually using a downloaded firmware file from ASUS’s website.
- Frequent Disconnections: Inspect for overheating, which can cause stability issues. Provide good ventilation to the router. Also, consider changing the Wi-Fi channel for less interference.
By addressing these common issues, you can maintain a stable and secure connection through your ASUS router. Remember to save your configurations after any changes and consult ASUS support if problems continue.
Conclusion and Additional Resources
Congratulations on making it to the end of our step-by-step guide on configuring your ASUS router. By now, you should have a secure, optimized, and fully functional home network environment. From checking your internet connection to securing your Wi-Fi with strong encryption, you’ve taken vital steps to ensure your network’s performance and security.
Remember, the key to maintaining a reliable and secure network is regular upkeep. This includes updating your router’s firmware, changing passwords periodically, and checking on your network’s health. If you ever run into issues, revisit the troubleshooting section for quick solutions, and don’t hesitate to contact ASUS support for more complex problems.
For additional resources, you can access ASUS’s official website and forum for more detailed guides, FAQs, and community support. There, you’ll find a wealth of information on everything from advanced configurations to the latest updates for your router.
If you want to access ASUS router settings or make changes in the future, merely retrace the steps outlined in this guide. Stay informed about new features and security practices to keep your network up to date with the latest technological advances.
Thank you for following our guide. Here’s wishing you a smooth and secure online experience with your ASUS router!

Leave a Reply