Signs Your Router Needs a Firmware Update
Recognizing when your router requires a firmware update is essential for maintaining a secure and efficient network. Here are key indicators that suggest it’s time to check for a firmware update:
- Slow Internet Speeds: If your internet connection has slowed down significantly, outdated firmware may be the culprit.
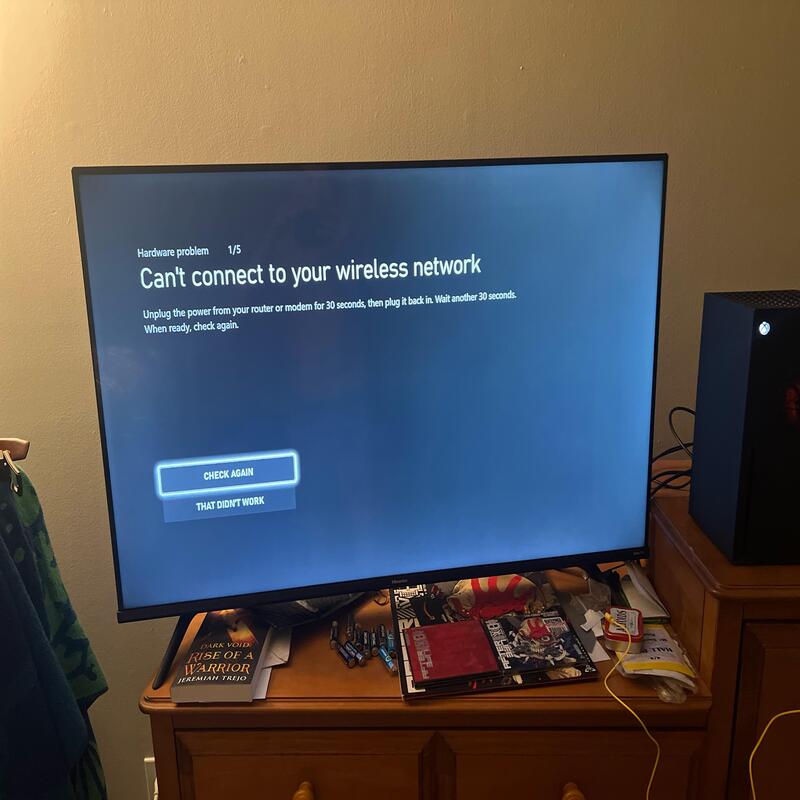
- Connection Issues: Frequent disconnections or difficulty connecting devices might indicate that your router’s firmware needs attention.
- Security Concerns: When a security vulnerability emerges, manufacturers often release firmware updates. If there’s widespread news about router security issues, it’s a good idea to update.
- Outdated Firmware: If you haven’t updated your router’s firmware in a long time, it’s likely that you’re missing out on performance improvements and security patches.
- Manufacturer Notifications: Occasionally, manufacturers will reach out to users advising them to update their firmware due to specific issues or improvements.
- New Features: Firmware updates often include new features. If you learn about additional functionalities that your router model supports with newer firmware, an update is necessary to access them.
Keeping an eye on these signals will help you maintain a reliable and secure router, ensuring that your network operates at its best.

Step-by-Step Guide to Updating Router Firmware
Updating your router’s firmware enhances security and performance. Follow this step-by-step guide to ensure your router operates with the latest updates.
Find your Router’s IP Address
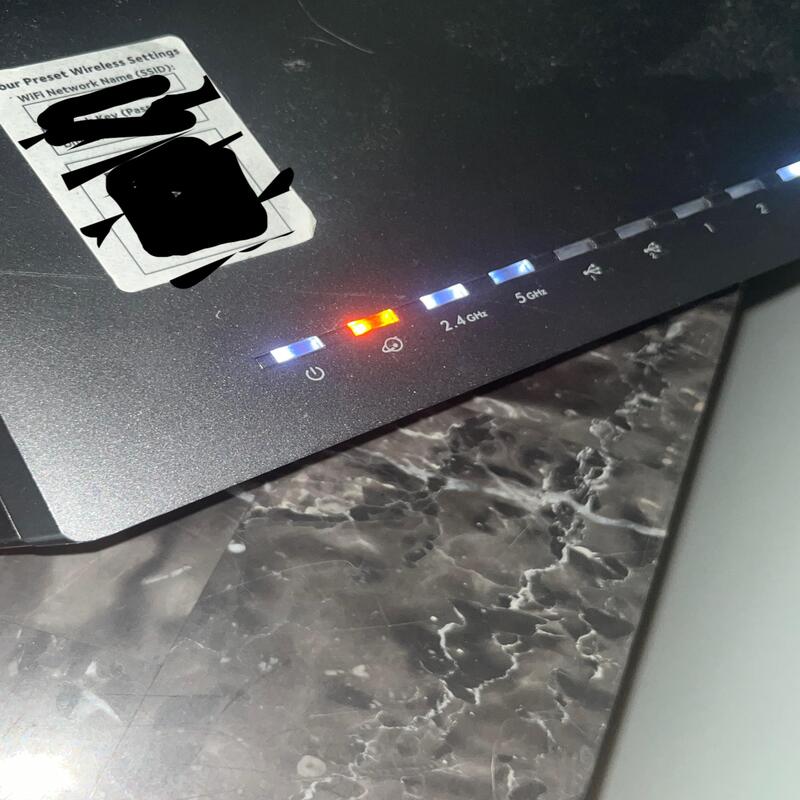
First, identify your router’s IP address. It’s often ‘192.168.1.1’, or check the sticker on your router. Otherwise, use ‘ipconfig’ (Windows) or ‘System Preferences’ (Mac) to find it.
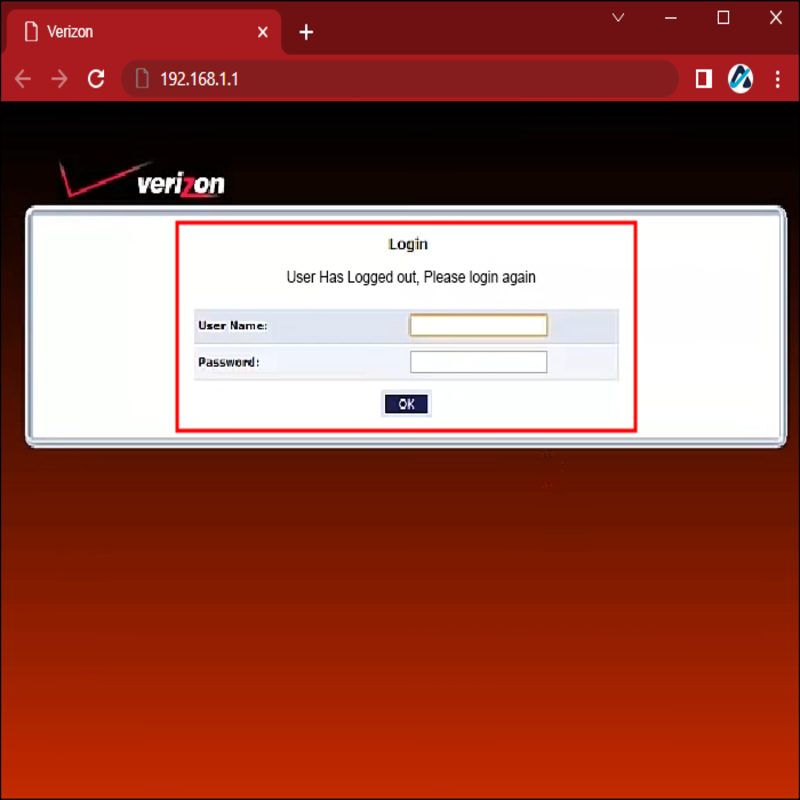
Log into your Router
Type the IP address into your browser. Then, enter your login credentials. If you forgot them, you might need to reset your router.
Navigate to Firmware Update Settings
On your router’s homepage, look for ‘Advanced settings’. Find the firmware section or something akin to an ‘About’ tab.
Check for Available Firmware Updates
In the firmware menu, look for an option to check for updates. This could automatically download the latest firmware.
Download and Apply the Update
If an update is available, click ‘Download’ or ‘Install’. Ensure a stable internet connection to avoid interruptions during the process. Some routers may require a restart after the update.
Following these steps will help keep your router’s firmware up-to-date, securing your network against vulnerabilities and improving overall performance. Regular checks are good practice as updates can address various issues and sometimes add new features.
Accessing Your Router’s Configuration Page
To update your router’s firmware, you must first access its configuration page. Here’s how:
- Locate the IP Address: Your router’s IP address is often ‘192.168.1.1’. If not, check the router sticker or use ‘ipconfig’ (Windows) or ‘System Preferences’ (Mac).
- Use a Browser: Enter the IP address into your browser’s search bar. You may need to confirm security exceptions to proceed.
- Enter Login Credentials: You’ll need your username and password. If forgotten, you may need to reset your router.
- Navigate to Settings: Once logged in, find the ‘Advanced settings’ or ‘About’ tab for firmware options.
Accessing the configuration page is a critical step in the update process. It allows you to check and install new firmware, keeping your router secure and efficient.

Checking for Firmware Updates
Keeping your router’s firmware updated is critical for security and functionality. Here’s how you can check for available firmware updates:
- Find the Firmware Section: After accessing the ‘Advanced settings’ on your router’s configuration page, locate the firmware-related options. This could be listed under an ‘About’ tab or a separate ‘Firmware Update’ section.
- Automatic Update Check: Most routers offer an automatic search feature that checks for the latest firmware. Select this option to see if there’s a newer version than what’s currently installed.
- Manual Update Search: If your router doesn’t automatically look for updates, you may need to manually check. Visit the manufacturer’s website, enter your router’s model number, and compare the latest available firmware with your router’s version.
- Download Availability: Some routers display a notification if a new firmware is available. Others require you to download the firmware file to your computer for manual installation.
- Check Regularly: You should periodically review your router’s firmware status. Manufacturers may release updates in response to new security threats or to add features.
By following these steps, you ensure your router is armed with the latest defenses against cyber threats and operates at peak performance.
Downloading and Applying Firmware Updates
Ensuring your router has the latest firmware is crucial for performance and security. Here is how you can download and apply these updates in simple steps.
Identifying If an Update Is Available
First, navigate to the firmware or ‘About’ section in your router’s settings. Here, you may find an option to check for updates. If a new firmware is available, it will display a notification or an option to download.
Initiating the Download Process
Should an update be available, click ‘Download’ or ‘Install’. It’s important to have a stable connection during this process, as any disruption could affect the update. It won’t take too long; firmware files are usually not large.
Applying the Firmware Update
After downloading, the system may prompt you to apply or install the update. By confirming, the update process will begin. Patience here is important – don’t interrupt the process. Once completed, some routers might need a restart to implement changes.
Setting Up Automatic Updates
For ease, you can often set your router to download updates automatically. This means you won’t have to check manually, providing peace of mind that your router stays up-to-date.
Troubleshooting Download Issues
If the update does not complete or fails, restarting the process or checking your internet connection can often resolve the issue. Otherwise, consider contacting your router’s support for assistance.
Updating your router firmware is a straightforward but essential task to maintain a secure and efficient network. Regular updates help protect against vulnerabilities and may also enhance your router’s performance or add new features. Follow these steps, and you’ll have the process mastered in no time.
Automatic vs. Manual Firmware Updates
Understanding the differences between automatic and manual firmware updates will help you keep your router secure without much hassle. Here’s how they compare:
Automatic Firmware Updates – The Hassle-Free Choice
- Convenience: Your router searches for and installs updates without your input.
- Time-Saving: There’s no need for you to regularly check for updates manually.
- Peace of Mind: Automatic updates ensure your router’s firmware is always current.
Automatic updates are ideal if you prefer a set-it-and-forget-it approach. Most modern routers support this feature, ensuring that firmware remains up-to-date with minimal effort on your part.
Manual Firmware Updates – Full Control Over Updates
- Choice of Firmware: You select which firmware version to install, giving precise control.
- Troubleshooting: Manual updates are useful when resolving specific router issues.
- No Automatic Installation: If your router doesn’t support automatic updates, manual installation is the alternative.
Manual updates demand more attention but offer the benefit of complete control. They are especially valuable if you need to address particular problems or want to avoid automatic beta firmware installations.
In conclusion, automatic updates are best for routine maintenance and convenience. Manual updates serve well for specific needs or when automatic updates are unavailable.
Updating Firmware Directly from Manufacturer’s Website
Sometimes, the best way to update your router’s firmware is through the manufacturer’s website. This might be the case if automatic updates are not working or a very recent patch is not yet available via your router’s interface. Here’s how to do it:
- Visit the Manufacturer’s Site: Go to the support or download section of your router’s brand website.
- Find Your Router Model: Enter your router’s model number in the provided search field.
- Download Firmware File: Look for the most recent firmware version and download the file, usually a .zip format.
- Access Router Settings: Re-enter the router’s configuration page using its IP address and your login details.
- Update Firmware: Locate the manual update section and upload the downloaded file. Click ‘update’ and wait for the process to complete.
- Reboot if Needed: Some routers might require a reset to apply the new firmware.
Checking the manufacturer’s website is also a good idea if you seek specific firmware versions or need an urgent security patch. It grants you access to all the firmware releases, including those not pushed automatically to your router. Remember to follow the steps cautiously to avoid any interruption that might affect the router’s performance.
When to Avoid Updating Router Firmware
It’s crucial to stay current with firmware to protect and improve your router. However, sometimes it’s best to avoid updating firmware. Here are scenarios where you should not proceed with a firmware update.
- Lack of Technical Knowledge: If you’re not confident in your technical skills, refrain from updating. Incorrectly installed firmware could expose your network to risks.
- Stable and Functioning: If your router performs well and there are no security threats, an update may be unnecessary. Wait for significant updates instead.
- Power Instability: Don’t update if power cuts are common in your area. A disruption during the update process can cause router malfunctions.
- During High Usage: Avoid updating when your network is heavily used. This avoids any connectivity issues during firmware installation.
- Beta Versions: Skip updates labeled as ‘beta’ or ‘test’. These may not be stable and can lead to performance issues.
- No Urgent Fixes: If the update doesn’t address urgent issues or add key features, it might not be worth the effort.
By considering these factors, you can decide when to update router firmware and when it might be best to wait. Always ensure to follow proper procedures or seek professional help if you’re unsure about the update process.