Resetting your Netgear router can resolve various connectivity issues. Sometimes, issues arise due to misconfigurations, making a factory reset essential. This article will guide you through the process of factory resetting your Netgear router. Moreover, it will provide troubleshooting tips and discuss the implications of resetting your device.
Why You Might Need to Reset Your Netgear Router
Common Reasons for a Factory Reset
Various situations may compel you to factory reset your Netgear router. For instance, a common reason is forgetting your login credentials. In many cases, users forget their password or username. Consequently, this prevents them from accessing the router’s settings. Another reason is poor network performance. For example, if your internet connection is slow or unstable, a reset might help. Sometimes, firmware updates may not install correctly. In such cases, resetting the device restores original settings, resolving potential issues.
Additionally, you may need to reset your router if you purchase or inherit a used device. A used router may still have the previous owner’s settings. This may lead to configuration conflicts or unauthorized access. Therefore, performing a factory reset ensures you start with a clean slate. Furthermore, network security is another critical reason. If you suspect unauthorized users on your network, resetting it will remove all connected devices.
Benefits of a Factory Reset
Factory resetting your Netgear router comes with several benefits. First and foremost, it clears out all configurations. This ensures that you eliminate any misconfigurations that may be causing issues. The reset will also restore original security settings. Consequently, this prevents unauthorized access if your network settings had been compromised. Furthermore, a reset can also improve overall performance. By returning the router to its default settings, you may notice a boost in speed and stability.
Another notable benefit involves troubleshooting complex issues. If you encounter persistent problems, a factory reset serves as a last resort. This allows you to start anew. You can then reconfigure the settings from scratch. Additionally, factory resets can help eliminate glitches coming from firmware updates. Sometimes, updates do not function as intended, leading to connection problems.
Preparing for the Factory Reset
Backing Up Your Configurations
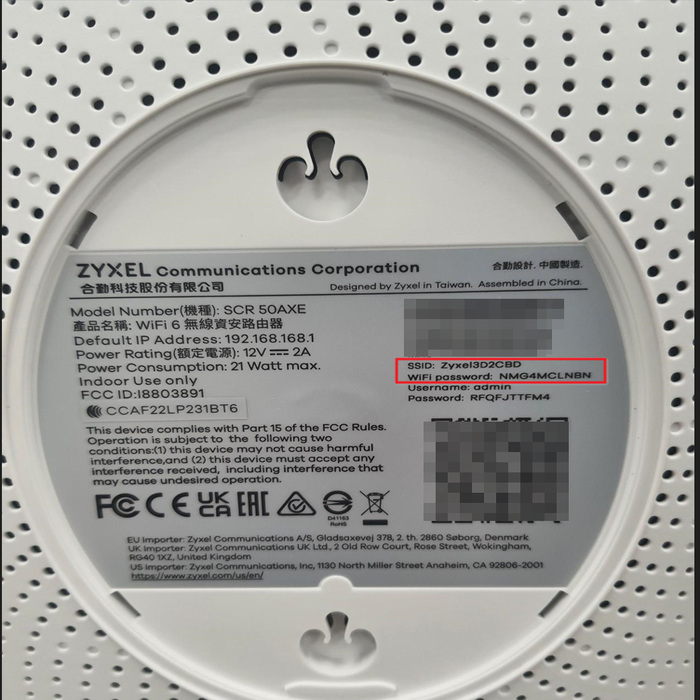
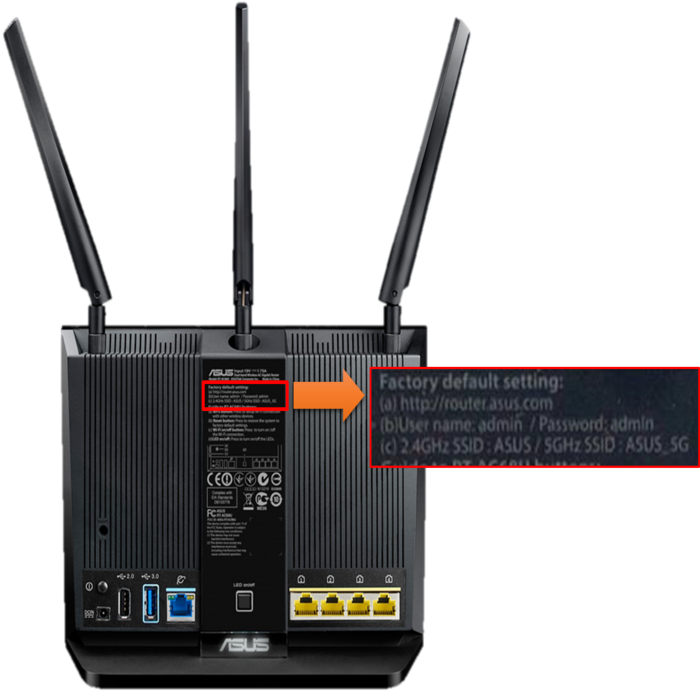
Before resetting your Netgear router, it’s crucial to back up your current settings. Saving your configurations can save time and effort later. To begin, access the router’s web interface. Open a web browser and type in the router’s IP address. Commonly, this is 192.168.1.1 or 192.168.0.1. When you access the router, you’ll need to enter your admin credentials. Once logged in, navigate to the management section.
Look for the option that says “Backup Settings” or something similar. Click on it to initiate the backup process. Save the settings file to your computer. This file can be useful after the reset when you wish to restore your previous settings. Furthermore, note down important customizations, if any. This ensures you can manually reconfigure specific elements later.
Gathering Necessary Tools
Having the right tools makes the factory reset process easier. You’ll need access to your Netgear router, of course. Additionally, you’ll require a computer or smartphone to access the router’s admin settings. This is important, as connecting to the router via Wi-Fi or an Ethernet cable is typically necessary. A stable internet connection is also important for the reconfiguration process that follows the reset.
Moreover, keep your user manual handy. Each Netgear router has specific features and settings. Therefore, referring to the manual can provide additional guidance. If you don’t have the physical manual, online resources are available. Refer to the Netgear support website for detailed documentation specific to your router model. This information can prove invaluable during and after the reset process.
Steps to Perform a Factory Reset
Using the Reset Button
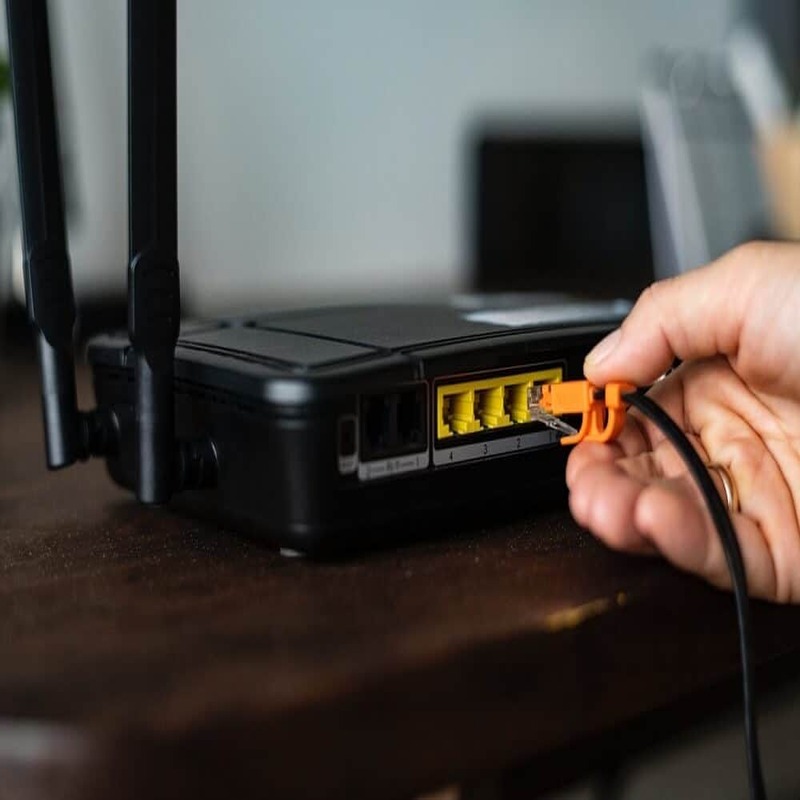
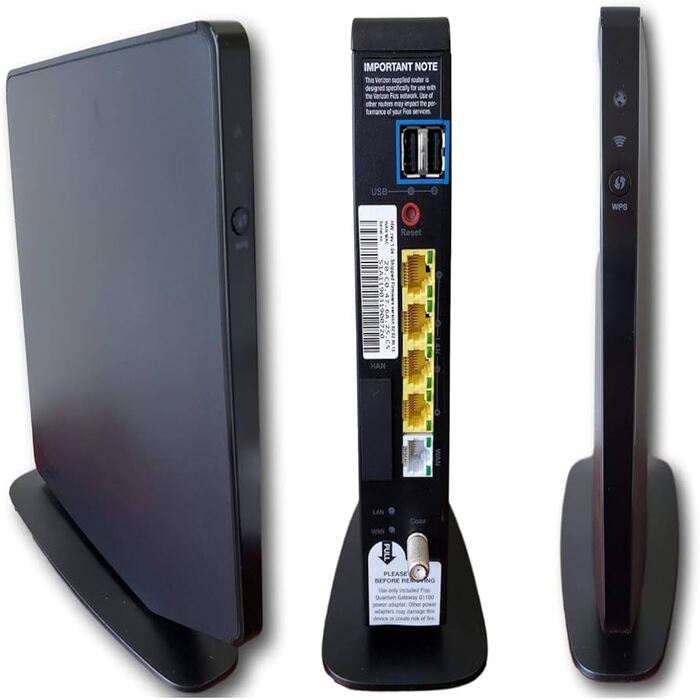
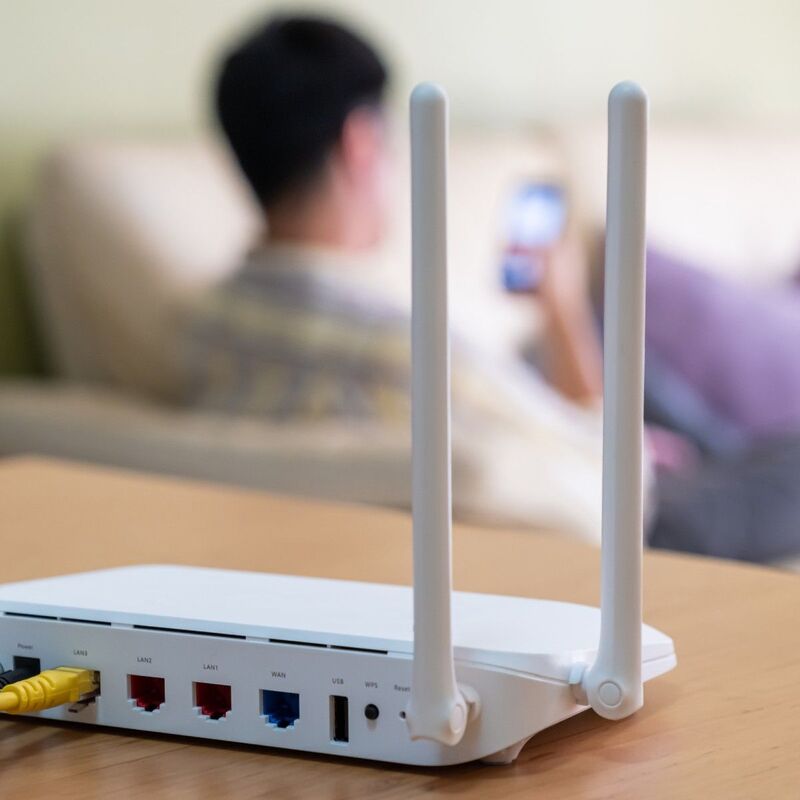
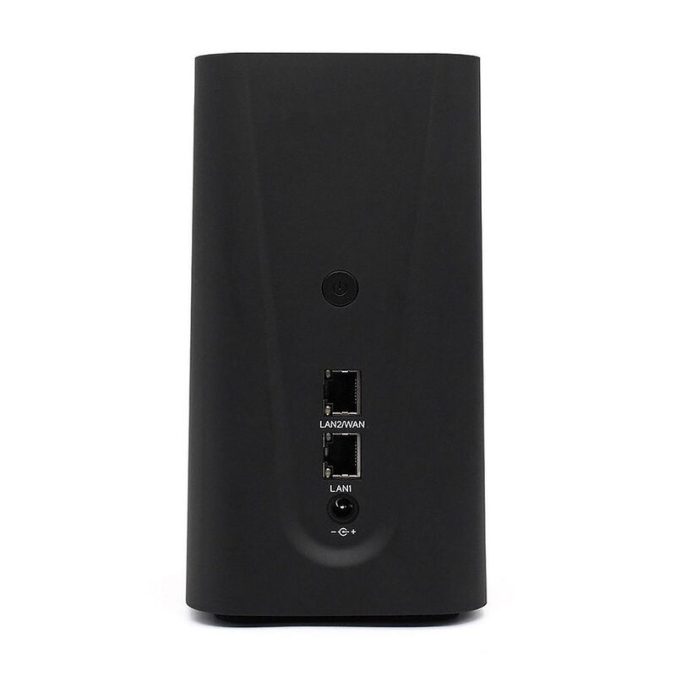
To reset your Netgear router, locate the physical reset button. This button is usually on the back or bottom of the device. Depending on your model, it may be a tiny pinhole button. You will need a paperclip or similar object to press it. Once you’ve located it, follow these steps carefully for a successful reset.
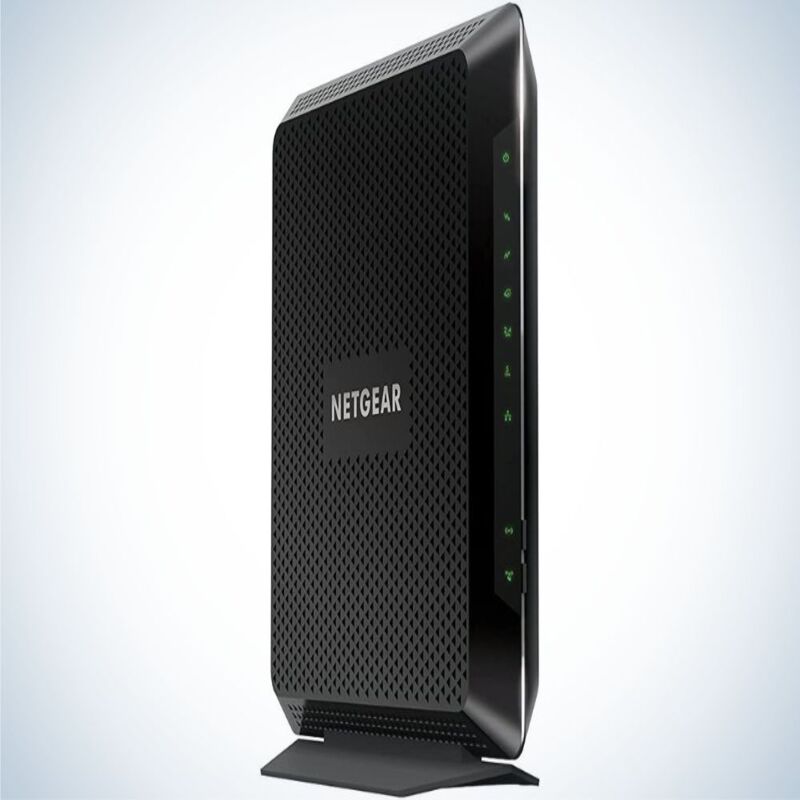
Press and hold the reset button for about ten seconds. Ensure you keep the button pressed until the router’s lights blink. This blinking indicates that the router is rebooting and has accepted the reset command. After releasing the button, wait a few minutes for the router to fully initialize. Once it restarts, all custom settings will revert to factory defaults.
Resetting via the Web Interface
Another method for performing a factory reset is through the web interface. Begin by connecting your computer or smartphone to the router. Enter the router’s IP address into your web browser. After that, log in using your admin credentials. Once logged in, look for the “Advanced” settings.
Within the advanced section, find an option labeled “Reset” or “Factory Reset.” Click on it, and you may be prompted to confirm your choice. Confirming will initiate the reset process. Depending on the router model, you may need to wait a few minutes. After the router reboots, it will be ready for use with factory settings.
Understanding What Happens After a Reset
Network Settings are Cleared
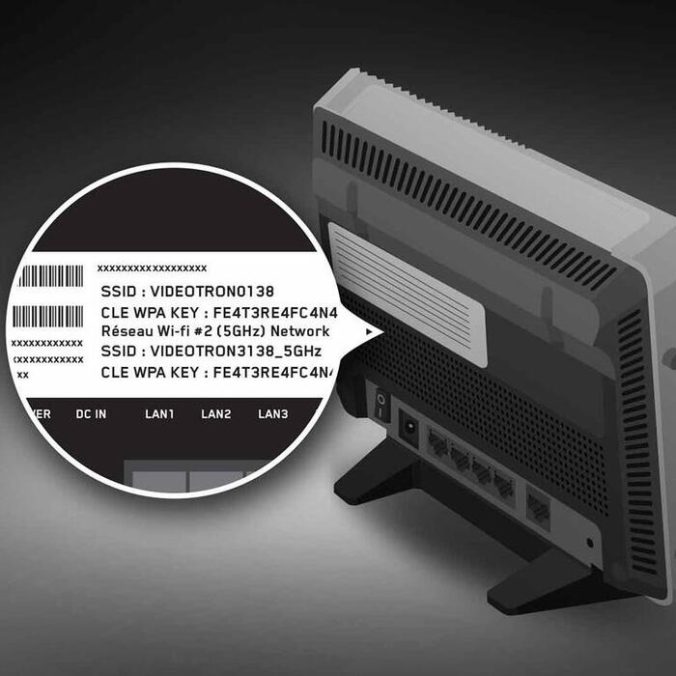
Once you perform a factory reset, all customized settings disappear. This includes your Wi-Fi name (SSID) and password. Essentially, all personalized configurations revert to default settings. Therefore, reconnecting devices to your network becomes necessary.
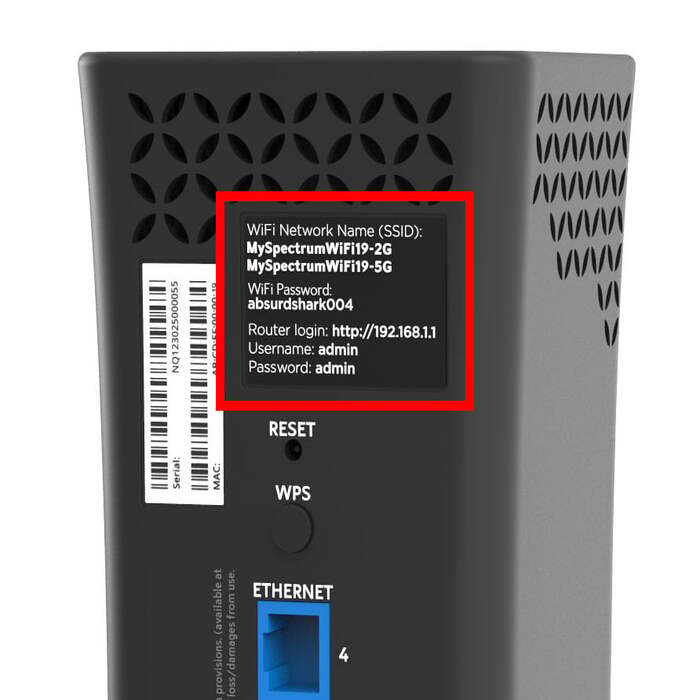
You will also need re-enter your ISP details if required. Otherwise, you may not connect to the internet immediately. Most routers come with a default SSID and password printed on a sticker. Using this information will help you get back online quickly. Moreover, remember that any port forwarding rules or parental controls will also be lost.
Reconfiguring Your Router
After a successful factory reset, you need to reconfigure your router. Reconnect to the router using the default SSID and password. Open a web browser and enter the router’s IP address. Log in using the default credentials, typically “admin” and “password.” From here, you can start adjusting various settings.
Begin with changing the Wi-Fi name and password to something unique. Choose a strong password for better security. Additionally, ensure the firmware is updated. This maximizes performance and security enhancements. Most routers have an option for automatic updates. Use this feature whenever possible. Furthermore, configure your firewall and security settings to safeguard your network.
Troubleshooting Common Issues
If the Reset Fails
In rare cases, a reset might not resolve your issues. If you notice your router acting strangely even after resetting, first check your internet connection. Ensure that the issue isn’t from your Internet Service Provider (ISP). Sometimes, connectivity problems can stem from outside the network. Contacting your ISP for assistance may help identify any regional issues.
Also, try performing the factory reset again. Make sure you follow the steps correctly and fully release the reset button. Moreover, ensure you wait long enough for the router to completely restart. Sometimes proper initialization takes longer than expected.
When to Seek Professional Help
If issues persist, it might be time to consult a professional. Your router could have hardware issues that a simple reset cannot resolve. Physical damage may also contribute to the ongoing problems. In such cases, seeking assistance from a technician might be advisable.
Before doing this, review your router’s warranty. If it is still under warranty, consider returning it for a replacement. Many manufacturers offer excellent customer service and support. Additionally, check online for community forums discussing similar issues. Often, other users share solutions that may guide you.
Conclusion
Overall, factory resetting your Netgear router is a straightforward process. This guide has outlined the steps necessary to successfully reset and reconfigure your router. Remember to back up any important settings before resetting as a precaution.
Moreover, after the reset, take time to carefully reconfigure your network settings. Adjust your SSID, password, and security settings to enhance your network’s safety. Following these guidelines can significantly improve your network’s performance.
Lastly, understanding when to seek professional help is equally crucial. Not every issue can be resolved through a factory reset. Know that you have options, both online and in-person, for resolving complex issues. Your Netgear router can function optimally, provided you’re proactive.
In conclusion, keeping your router in excellent working condition is essential for a seamless digital experience. By knowing how and when to reset your device, you ensure that you maintain a reliable network connection. Always stay updated with the latest router firmware and configurations to maximize your online experience.