Unboxing and Understanding Router Components
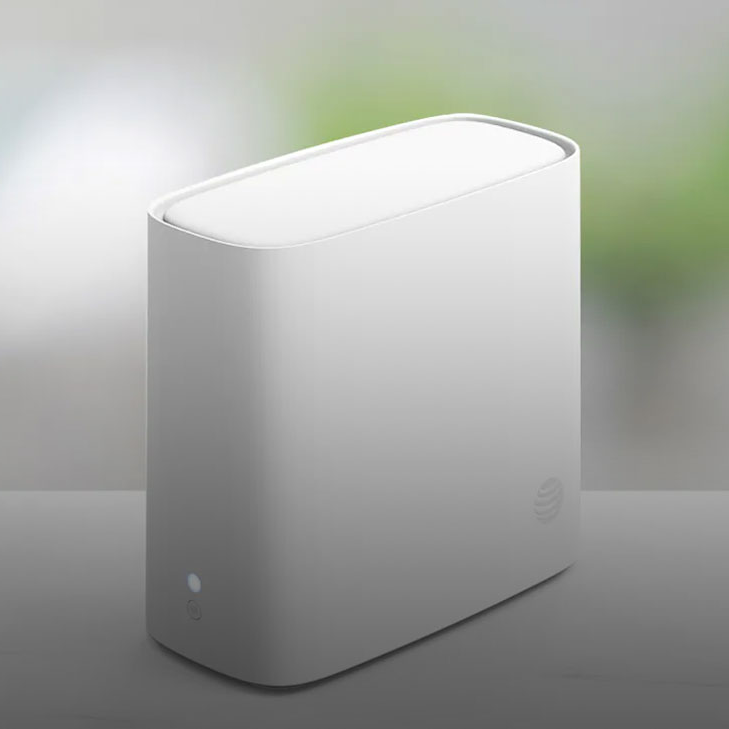
The first step in the AT&T router setup process involves unboxing your new device. When you open the box, you’ll typically find the following items:
- The AT&T router itself
- A power adapter to connect the router to an electricity outlet
- An Ethernet cable to link your router to the modem
- Quick start and safety information guides
- Any additional accessories, such as a stand or mounting equipment
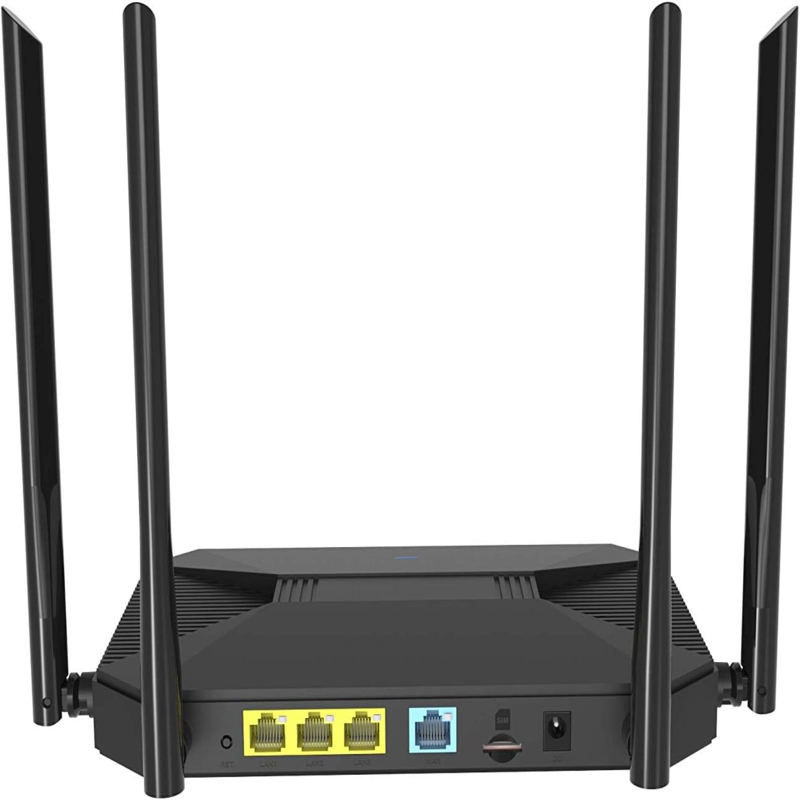
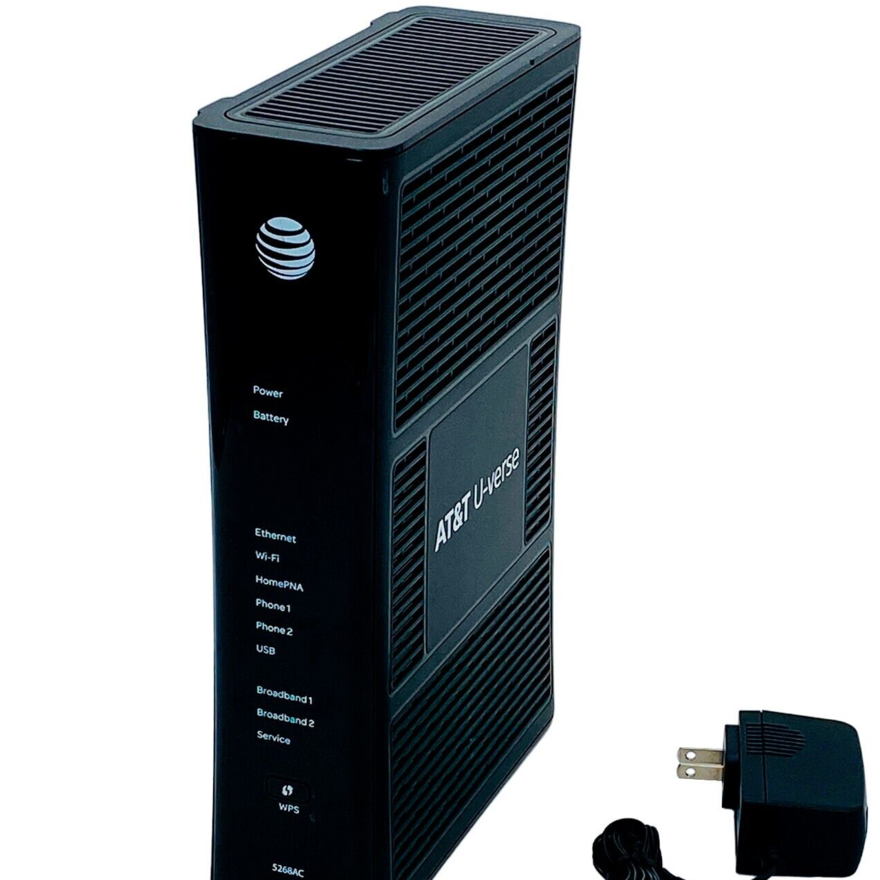
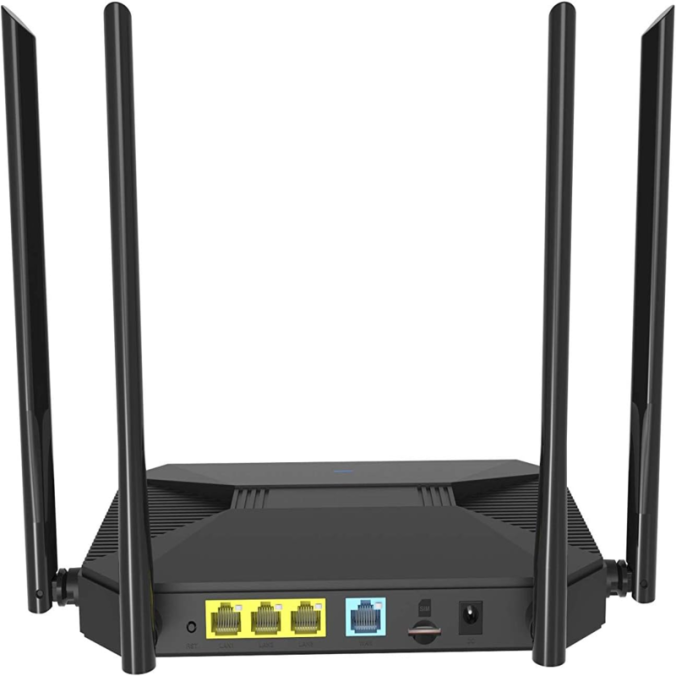
To ensure everything is included, check the list of contents provided on the packaging against the items you’ve unpacked. Familiarize yourself with each component. The router is the main device; it’s usually a rectangular box with several ports. An Ethernet port on your router will connect to the modem via the Ethernet cable. The power adapter connects to the router and the wall socket to supply power.
Take a moment to identify different buttons, such as the power on/off switch and the reset button, which may come in handy during troubleshooting. Knowing your router’s components is crucial for a smooth setup process. Ensure you handle all equipment with care to avoid damage. With the contents accounted for and a basic understanding of each part, you’ll be ready to move on to powering up the router.

Connecting the Router to a Power Source
After unboxing your AT&T router, the next step in the setup process is to connect it to a power source. This step is vital to start the router’s operation. Firstly, locate the power adapter included in the box. Ensure the adapter matches the router’s specifications for a stable power supply.
Insert one end of the power adapter into the designated power port on the router. Typically, this port is labeled to avoid confusion. Next, plug the other end into a nearby electrical outlet. It’s necessary to use a surge protector if possible to safeguard the router from power surges.
Once connected, press the power button on the router. This button is usually found on the back or side of the unit. The router should light up, indicating that it is starting up. Check for initial status lights, like the power and internet indicators, which confirm that the device is receiving power correctly and starting properly.
Connecting your AT&T router to the power source correctly is an important step to ensure a successful setup and reliable operation. Always follow the manufacturer’s instructions for best results.
Securing Physical Connections Between Router and Devices
After powering on your AT&T router, it’s time to connect your devices. This step helps make sure your network runs smoothly. First, find the Ethernet cable that came with your router. Plug one end into the router’s Ethernet port. Connect the other end to your modem. Make sure the connection is snug and secure.
Next, if you want to connect a computer or console with a wired connection, use an additional Ethernet cable. Plug one end into another port on the router. The other end goes into the device’s network port. Wired connections can give you a faster, more stable internet experience.
For devices like smartphones and tablets, wireless connections will come later. This step is all about cables and wired links.
After all physical connections are made, check the lights on your router. They should indicate active connections. No light usually means something’s not right. Make sure all cables are properly connected and in the correct ports. Now, the router links your devices in a network. You’re all set to configure your wireless settings next.

Accessing the Router’s Configuration Interface
To configure your AT&T router, you must access its configuration interface. Start by opening a web browser on a device that’s connected to the router. In the browser’s address bar, type the router’s default IP address. You can find this in the router’s manual or on the bottom of the router itself.
Once you enter the IP address, press Enter. A login page should appear. Use the default username and password provided by AT&T to log in. These details may also be in the manual or on the router.
After logging in, you’ll see the router’s configuration dashboard. Here, you can set up your wireless network, change passwords, and adjust settings. Take your time to explore the different menus. Each section lets you manage different aspects of your router’s operation.
If you face issues logging in, ensure you’re connected to the AT&T router and not another network. Also, check if the caps lock is off, as the details are case-sensitive.
Accessing the router’s configuration interface is essential to customize your network settings. It is your control panel for the AT&T router setup. Remember to save any changes you make before exiting the dashboard.
Configuring the Wireless Network Settings
With the physical connections in place, it’s time to configure the wireless settings on your AT&T router. Navigate to the wireless settings in the configuration interface you accessed earlier. Here is where you’ll establish your Wi-Fi network by following these steps:
- Choose your wireless network name (SSID): Select a name that is easily identifiable, yet unique. Avoid using default names since they’re too generic.
- Set a strong password: Create a secure password to protect your network from unauthorized access. Combine letters, numbers, and symbols.
- Select the wireless band: Your router may offer a 2.4 GHz and a 5 GHz band. Choose the one that fits your devices’ needs. The 5 GHz band is faster but has a shorter range.
- Enable network encryption: Look for security options and select WPA2 or WPA3 encryption for the best security.
- Adjust your channel and frequency: If you experience interference, try changing the channel or frequency settings to improve wireless signal quality.
- Save and apply settings: After making changes, save them and allow the router to apply the new configuration.
For the best performance of your ATT router setup, ensure the firmware is up to date. Regular updates ensure enhanced security and new features. Connect all your devices, like smartphones and tablets, to the new Wi-Fi network by searching for the SSID and entering the password you set.
Verify the connection on each device to assure a successful AT&T router setup. Check that you can browse the internet without issues. In this way, your wireless network is now secure and ready to use.

Updating Firmware for Optimal Performance
For best performance, always update your AT&T router’s firmware. Firmware updates enhance security and add new features. Follow these steps to update your firmware:
- Log in to the router’s configuration interface. Use the steps outlined before to access the dashboard.
- Find the firmware update section. This is usually under the ‘Administration’ or ‘Management’ tab.
- Check for updates. The interface will show if updates are available. Read the release notes. They tell you what the update does.
- Download and install the update. Click the update button. Make sure not to turn off the router during the update.
- Restart the router if needed. Some updates need a restart to apply changes.
Ensure the update finishes completely. An interrupted update could harm your router. After updating, check the system status. Make sure all functions work well. Regular firmware updates keep your internet connection secure and efficient. They fix bugs and improve the router’s performance.
Setting Up Parental Controls and Security Features
After configuring the Wi-Fi network on your AT&T router, it is vital to set up parental controls and security features to protect your family online. These tools give you peace of mind by managing access to content and monitoring internet use. Here’s how you can activate these settings:
- Access the router’s dashboard: Use the IP address to log back into the configuration interface as previously detailed.
- Locate the parental controls: Search for the parental controls menu in the router settings. This section is often found under security options.
- Set browsing restrictions: Choose appropriate filters to block harmful content. You may restrict access by categories or specific websites.
- Create access schedules: Limit internet use during specific times, like bedtime or homework hours. Create profiles for each family member.
- Activate security features: Turn on firewalls and anti-malware protection to defend against online threats. These settings are typically default but double-check their activation.
- Enable guest network: If guests visit, set up a separate Wi-Fi network. This keeps your family’s network private and more secure.
- Apply and save changes: After setting the controls and features, save the changes. Make sure they are effective immediately.
By setting up these parental and security features, you ensure a safer browsing experience for everyone on your AT&T router network. Remember to review and update these settings regularly as needs evolve or when new threats emerge.
Troubleshooting Common Setup Issues
Encountering issues during the AT&T router setup is not uncommon. Addressing common setup problems can save you time and frustration. Here’s what you can do to resolve typical hiccups:
- No Power to Router: Ensure the power adapter is correctly plugged into both the router and the outlet. Check if the outlet works by testing with another device.
- Cannot Access Configuration Interface: Verify the correct IP address is used. Also, make sure your device is connected to the AT&T router’s network.
- Lost Connection After Setup: Restart the router and your devices. Sometimes all you need is a fresh start to re-establish connections.
- Slow Internet Speeds: Test the speed near the router and compare it to other areas. Reposition the router if necessary to avoid obstacles and interference.
- Wi-Fi Network Not Visible: Confirm the SSID is broadcasted. It might be hidden, requiring you to enter the name manually in your device’s Wi-Fi settings.
- Forgot Password: Reset the router to factory settings by using the reset button. Remember, you’ll have to reconfigure your settings.
- Intermittent Connection: Look into potential signal obstacles or the need to change the Wi-Fi channel in your router settings for less congestion.
- Firmware Update Issues: If an update fails, try again. If persistent, reach out to AT&T support for guidance.
Address these common AT&T router setup issues methodically. If problems continue, consult the AT&T customer service for further assistance. Always keep your router’s manual handy during setup for quick reference.
