Integrating a monitor with your personal computer is a crucial step in setting up a functional and visually appealing workstation. Whether you’re building a new system, upgrading your existing setup, or simply connecting a secondary display, the process of connecting a monitor to a PC can seem daunting, especially for those who are less tech-savvy. However, with the right guidance and a few simple steps, you can easily establish a seamless connection and enjoy the benefits of a multi-monitor or enhanced display configuration.
In this comprehensive guide, we will walk you through the step-by-step process of connecting a monitor to your PC, covering the essential hardware components, the various connection options, and the necessary software configurations to ensure a smooth and successful integration. Whether you’re a seasoned computer user or a newcomer to the world of personal computing, this article will equip you with the knowledge and confidence to tackle this important task and unlock the full potential of your display setup.
Prepare to master the art of connecting your monitor to your PC and elevate your computing experience.
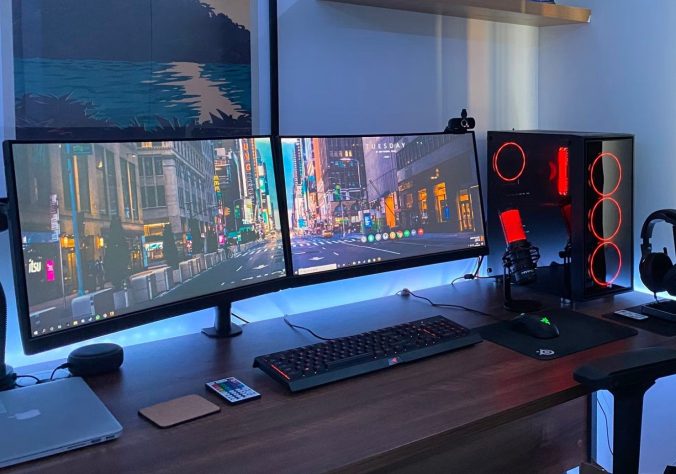
Gathering the Necessary Hardware
Before you can begin the connection process, it’s crucial to ensure that you have all the required hardware components on hand and ready to go.
Identifying Your Monitor’s Connectivity Options
The first step in connecting your monitor to your PC is to determine the available input ports on your monitor, as this will dictate the type of cable you’ll need to use.
Common Monitor Input Ports
Familiarize yourself with the most common monitor input ports, such as HDMI, DisplayPort, DVI, and VGA, and identify which ones are available on your specific monitor model.
Selecting the Appropriate Cable
Choose a cable that matches the input port on your monitor and is compatible with the output ports available on your PC.
Assessing Your PC’s Display Connectivity
Just as you’ve identified the connectivity options on your monitor, it’s equally important to understand the display outputs available on your PC.
Locating the Display Ports on Your PC
Carefully examine the rear or side of your PC chassis to identify the available display output ports, such as HDMI, DisplayPort, DVI, or VGA.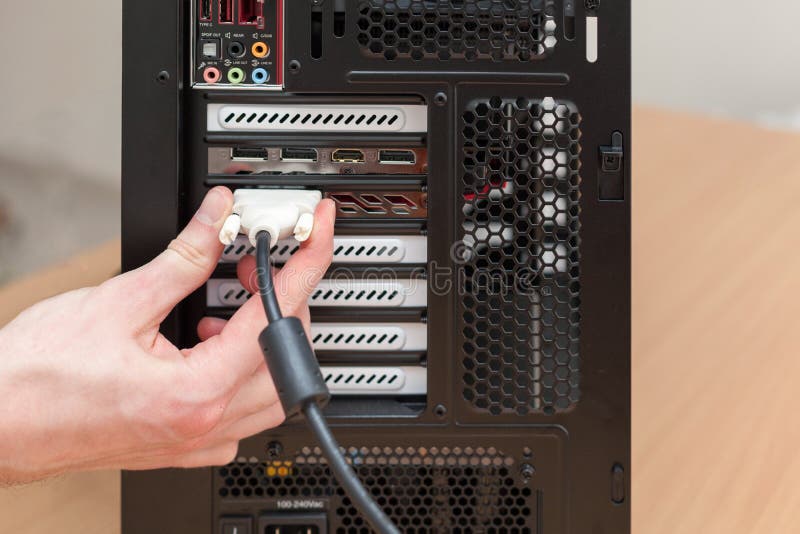
Verifying Port Compatibility
Ensure that the display output port on your PC is compatible with the input port on your monitor, as this will determine the type of cable you’ll need to use.
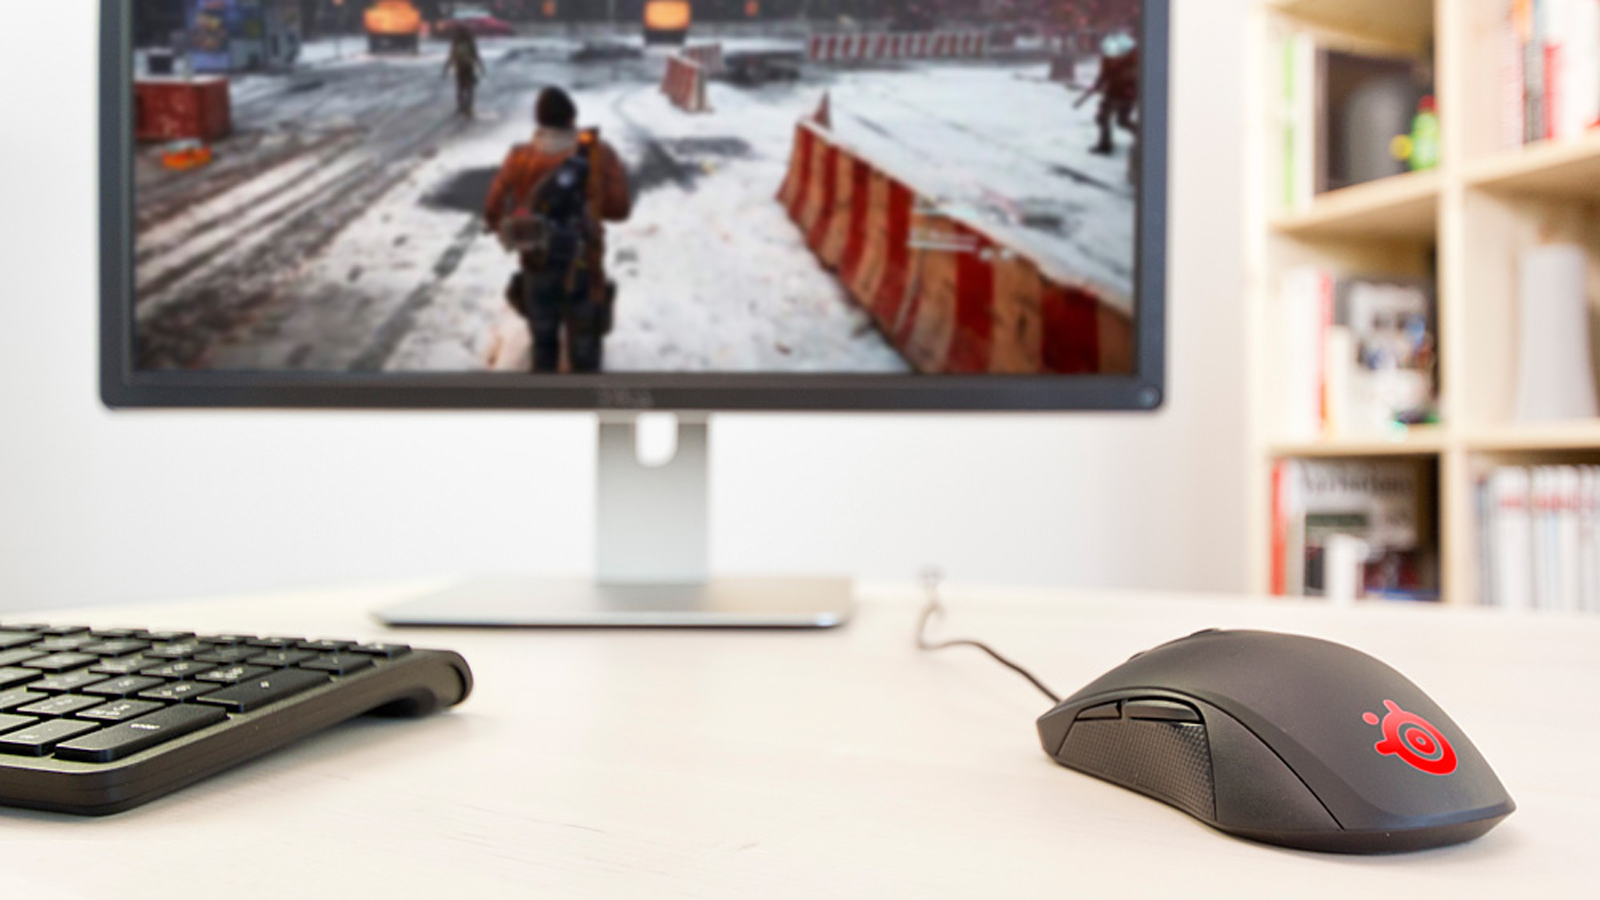
Connecting the Monitor to Your PC
With the necessary hardware components in hand, it’s time to proceed with the physical connection process and establish the link between your monitor and PC.
Powering Down Your PC and Monitor
Before making any connections, it’s crucial to power down both your PC and monitor to prevent potential damage or issues during the setup process.
Unplugging the Power Cables
Disconnect the power cables from both the PC and the monitor to ensure a safe and secure connection.
Preparing the Connection Cables
Locate the appropriate connection cable based on the input and output ports identified in the previous step.
Establishing the Physical Connection
With your PC and monitor powered down and the connection cable ready, it’s time to physically link the two devices.
Connecting the Cable to the Monitor
Plug one end of the cable into the appropriate input port on your monitor, ensuring a secure and snug fit.
Connecting the Cable to the PC
Plug the other end of the cable into the compatible display output port on your PC, again making sure the connection is firm and secure.
Powering On and Verifying the Connection
After making the physical connection, it’s time to power on your devices and ensure that the connection is successful.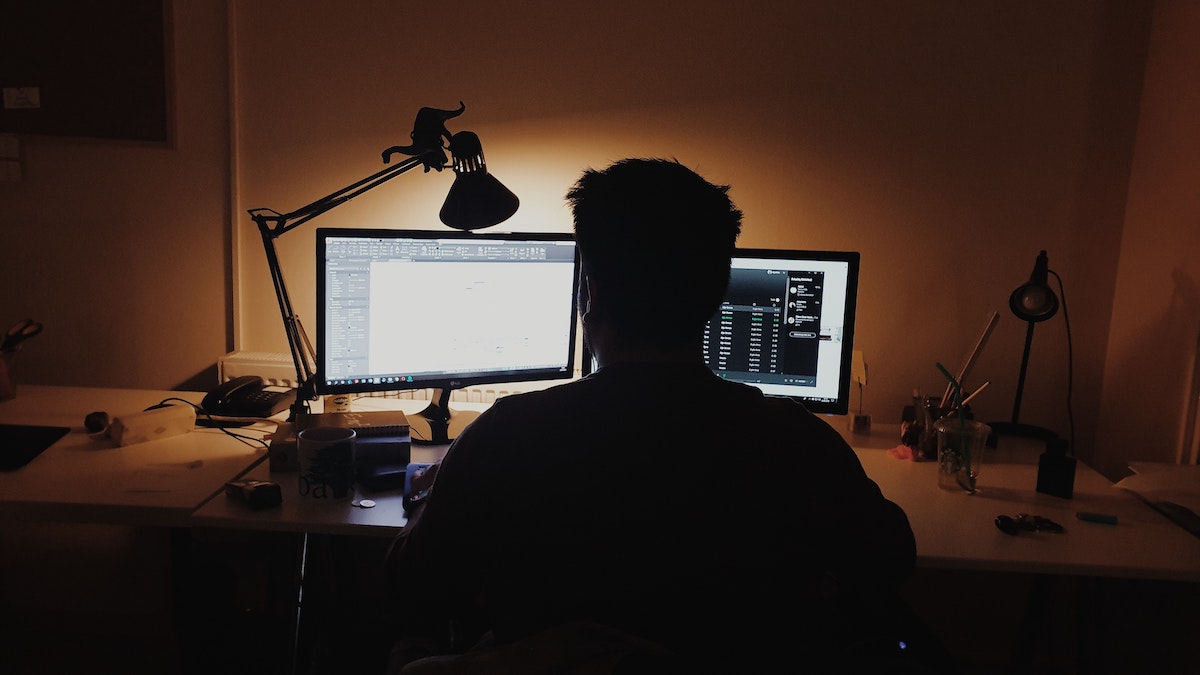
Powering On the PC and Monitor
Turn on your PC and monitor, and observe the display to verify that the connection has been established.
Troubleshooting Any Connection Issues
If the display does not appear or if you encounter any other issues. Refer to the troubleshooting tips provided in the next section.
Configuring the Display Settings
Once the physical connection between your monitor and PC is established. You’ll need to configure the display settings to optimize the visual experience and ensure compatibility between the two devices.
Accessing the Display Settings
Depending on your operating system, you’ll need to navigate to the appropriate display settings menu to manage the configuration of your connected monitor.
Windows Display Settings
In a Windows-based system, access the display settings through the Control Panel or the Settings app.
macOS Display Settings
On a Mac, you can adjust the display settings through the System Preferences.
Adjusting the Display Resolution and Refresh Rate
One of the most critical settings to configure is the display resolution and refresh rate, as these parameters can have a significant impact on image quality and overall performance.
Selecting the Optimal Resolution
Choose the highest supported resolution for your monitor to ensure a sharp and detailed visual experience.
Setting the Appropriate Refresh Rate
Adjust the refresh rate to the maximum supported value, which can help provide a smooth and responsive display.
Enabling Multi-Monitor Support (if applicable)
If you’re connecting a secondary or multiple monitors to your PC. You’ll need to configure the display settings to support a multi-monitor setup.
Arranging the Displays
Organize the placement of your displays within the settings to match their physical arrangement on your desk.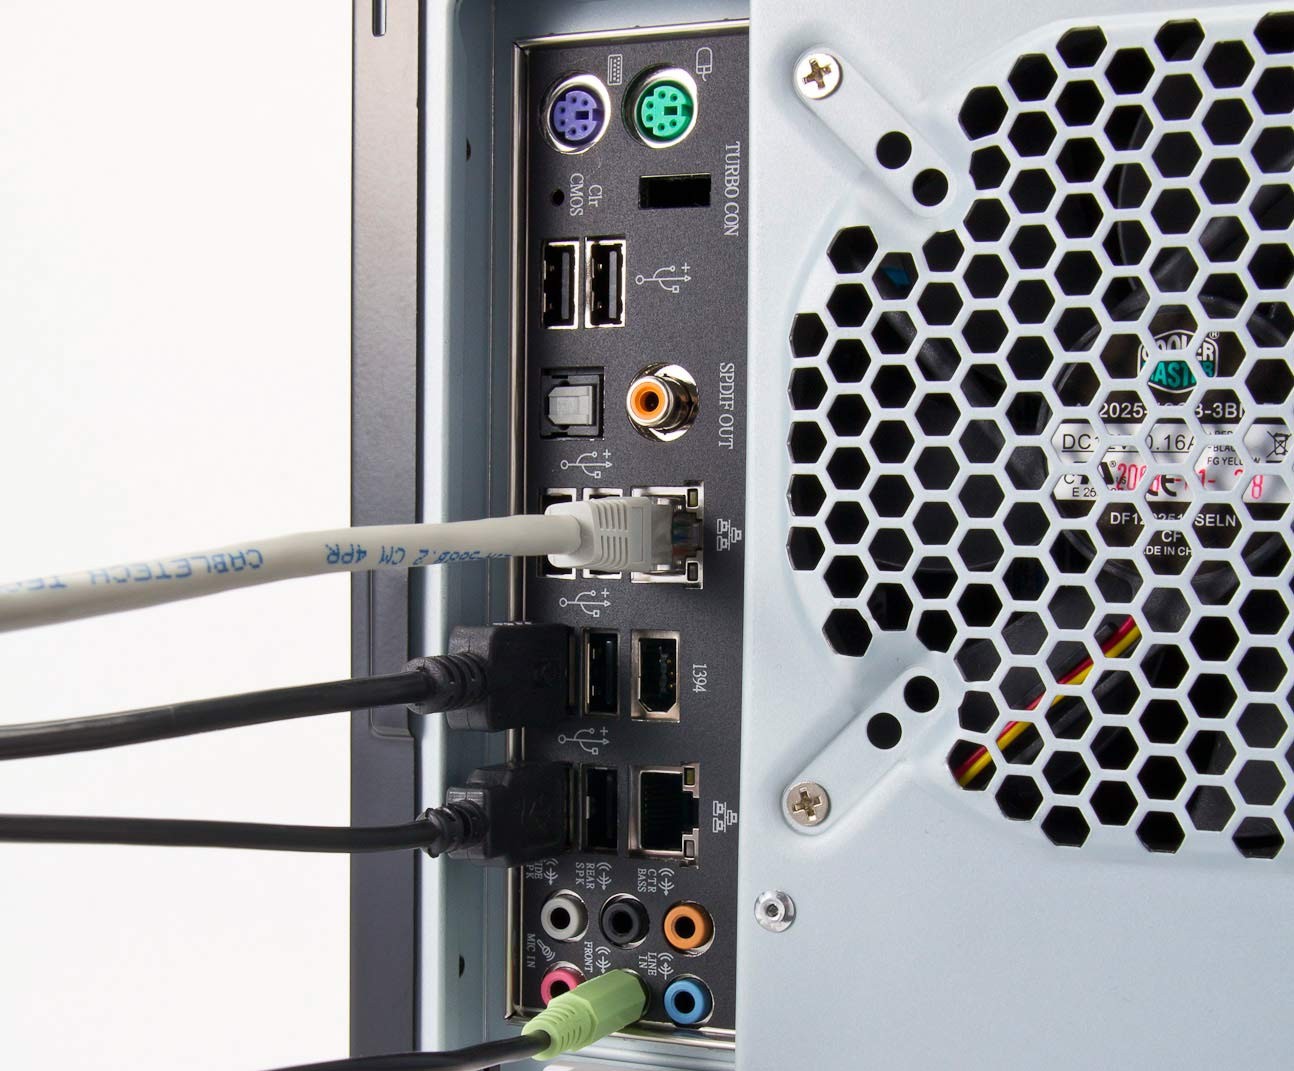
Adjusting Display Scaling and Orientation
Ensure that the display scaling and orientation are properly configured to provide a seamless and cohesive visual experience across all connected monitors.
Troubleshooting and Maintenance
Even with a well-planned and executed connection process, you may occasionally encounter issues or encounter the need for ongoing maintenance to keep your monitor-PC setup functioning at its best.
Troubleshooting Common Connection Issues
Should you encounter any problems during the connection process or when using your connected monitor. Refer to these troubleshooting tips to identify and resolve the issue.
Verifying Cable Connections
Double-check that all cable connections are secure and properly seated in the respective ports.
Updating Drivers and Firmware
Ensure that you have the latest drivers and firmware installed for both your monitor and graphics card.
Performing Routine Maintenance
Regularly maintaining your monitor and PC connection can help ensure the longevity and optimal performance of your setup.
Cleaning the Monitor and Ports
Gently clean the monitor screen and the input/output ports on both the monitor and PC to prevent dust buildup.
Checking for Software Updates
Stay up-to-date with the latest software updates for your operating system and display drivers to address any known issues or vulnerabilities.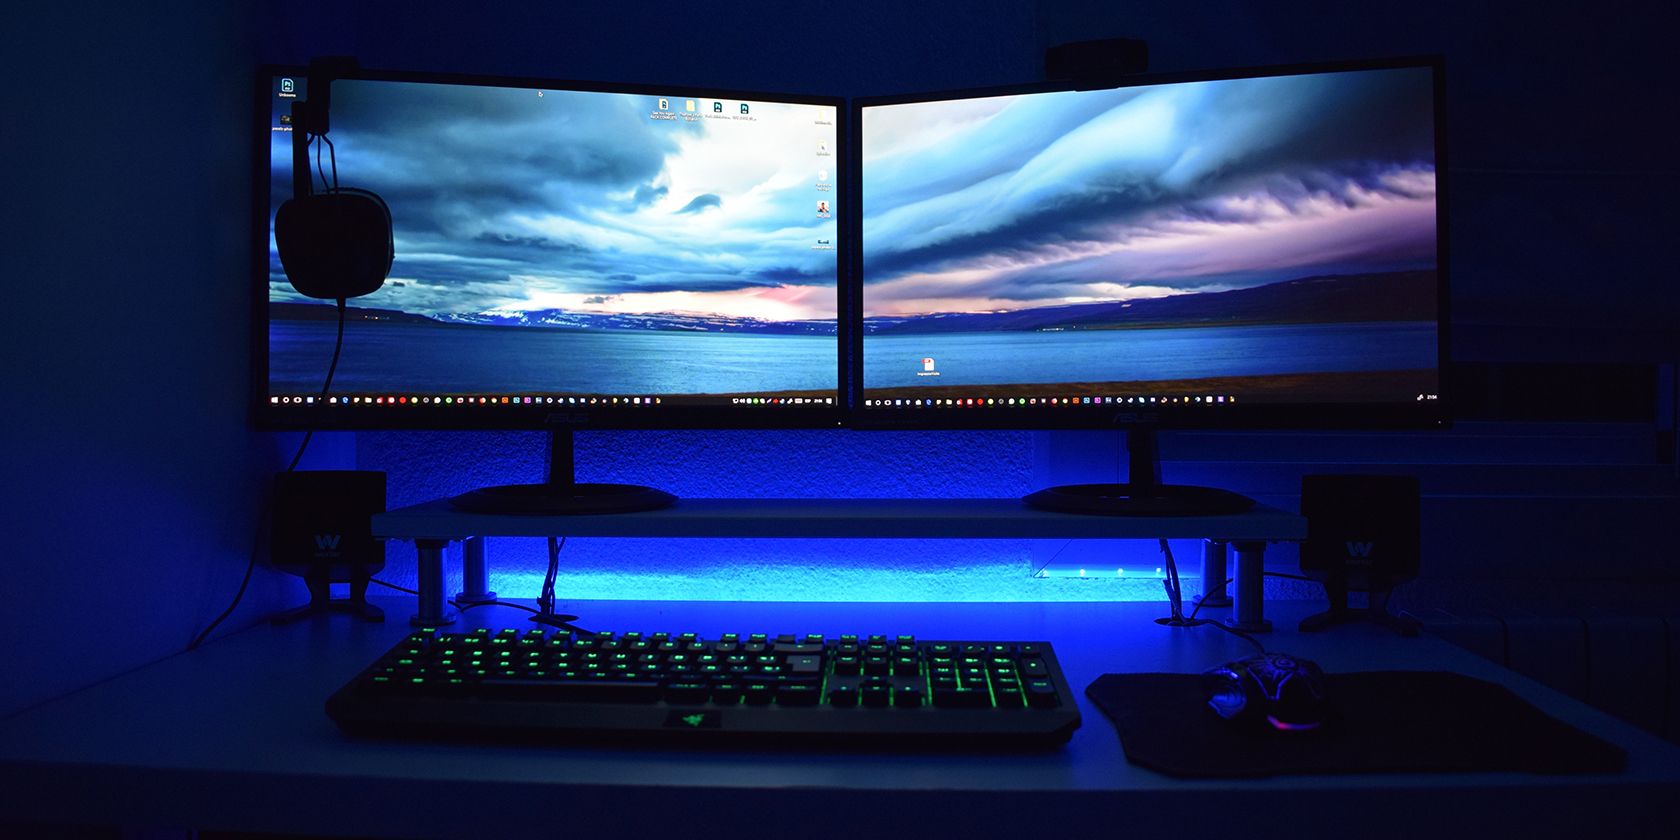
Conclusion: Mastering the Art of Monitor-PC Integration
Connecting a monitor to your personal computer is a fundamental task that lies at the heart of creating a functional and visually appealing computing setup. Through this comprehensive guide, you have gained the knowledge and confidence to tackle this important process, from identifying the necessary hardware components to configuring the display settings and troubleshooting any issues that may arise.
By mastering the art of monitor-PC integration, you have unlocked the ability to unleash the full potential of your display setup, whether it’s for gaming, content creation, productivity, or simply enjoying a more immersive and visually stunning computing experience. Whether you’re building a new system, upgrading an existing one, or adding a secondary monitor. The step-by-step instructions and expert tips provided in this article have equipped you with the skills to seamlessly connect your monitor to your PC and ensure a smooth, hassle-free integration.