
Macbook air screen replacement can seem daunting. However, with the right approach and understanding, this task can be manageable. Whether your screen cracked, has dead pixels, or simply isn’t functioning properly, knowing how to replace it can save time and money. This article serves as a guide through the entire process. We’ll discuss the necessary tools, safety precautions, and step-by-step instructions, ensuring you have all the information you need.
Understanding the Need for Screen Replacement
When your MacBook Air encounters screen issues, it’s crucial to identify the problem. Some common symptoms include cracks, discoloration, or malfunctioning display responses. Many users may initially delay addressing these issues. However, neglecting them can lead to further damage. Therefore, recognizing the importance of timely screen replacement is essential. Furthermore, understanding the costs associated with professional repairs can be a motivating factor. Repair shops often charge exorbitant amounts. By opting for a DIY approach, you may save a significant amount of money.
Identifying the Screen Issues
Before proceeding with a replacement, accurately identifying the issue is essential. If you notice cracks, the screen replacement is undoubtedly needed. However, if the display is flickering, the issue might stem from other components. Such issues could include the graphics card or cables within the laptop. Thus, it’s always a good idea to troubleshoot your MacBook Air. For instance, connecting to an external monitor can help determine whether the internal display is at fault. By taking these steps, you’re ensuring that you aren’t undertaking unnecessary repairs.
Assessing Replacement Options
After identifying the issue, consider your replacement options. Various screens are available for different MacBook Air models. It’s important to ensure you purchase a compatible screen. In many cases, refurbished screens are an economical choice. However, new options can provide the best longevity. Shopping online offers convenience. Yet, it’s crucial to buy from reputable vendors to ensure quality. Research several options to find the right screen for your model. Ensuring a good match is essential for a smooth replacement process.

Essential Tools for the Replacement
To successfully replace the screen, you need specific tools. Gathering these tools in advance will streamline the process. The primary tools include a pentalobe screwdriver, a Torx screwdriver, an adhesive remover, and plastic prying tools. Each tool serves a specific purpose during the replacement. Additionally, static-free gloves can help protect the components from damage. Ensuring you have everything ready can significantly reduce stress during the task.
Safety Precautions Before You Start
Safety should always come first when working on electronics. Make sure to work in a clean, well-lit area. This ensures that small parts won’t get lost. Moreover, ensure your MacBook Air is powered off and disconnected from any power source. If needed, discharge any residual power by holding the power button. Additionally, grounding yourself can help prevent static electricity from damaging the internal components. Taking these precautions is simple but crucial for successful screen replacement.
Gathering Replacement Parts
Finding the right replacement parts is essential. As mentioned earlier, the screen must be compatible with your specific MacBook Air model. Many online platforms shape a vast marketplace for replacement parts. It is beneficial to compare prices and read reviews from other users. Opt for parts that come with a warranty, which can offer peace of mind. In some cases, bundles might provide better value by including adhesive and tools. Doing thorough research ensures that you get quality components.

Step-by-Step MacBook Air Screen Replacement
Now that you are prepared, let’s walk through the replacement process step-by-step. These instructions are written to be easy to follow. Always refer to your device’s manual for specific instructions, as different models may vary. Moreover, be patient, as rushing could lead to mistakes.
Step 1: Power Down and Prepare
Begin by powering down the MacBook Air completely. This step is critical to avoid electrical shocks. Furthermore, ensure that you disconnect any cords, including the charger. Once the device is off, find a clean workspace. This will help maintain organization throughout the process. A static-free mat is also a good idea to prevent damage to sensitive electronics.
Step 2: Remove the Bottom Case
Using a pentalobe screwdriver, remove the screws securing the bottom cover. Place them in a safe location to prevent losing them. Next, carefully lift the bottom case off the device. Depending on the model, you might need to use a plastic prying tool. Gently working around the edges will help avoid damaging any internal components.
Step 3: Disconnect the Battery
Once the bottom case is removed, the battery should be visible. Disconnecting the battery is crucial to prevent any electrical shorts. Carefully identify the battery connector and gently lift it away from the motherboard. Using plastic tools can help avoid any accidental damage. After this step, it’s safe to continue working without electrical hazards.
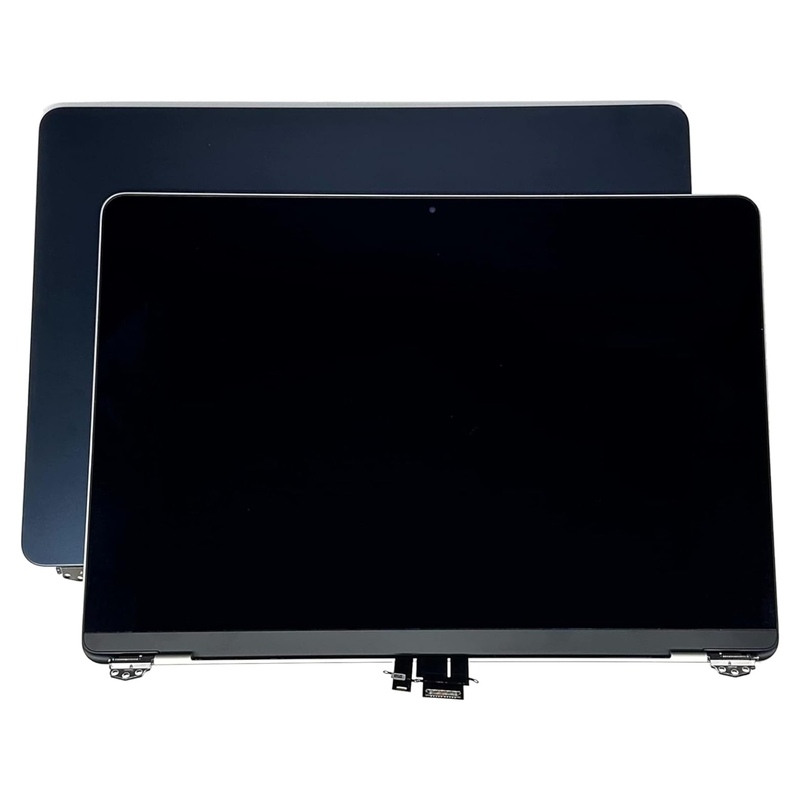
Step 4: Remove the Display Assembly
The next phase involves disconnecting the display assembly. You’ll find screws securing the hinges, which need removal. Once the screws are taken out, proceed to disconnect the display cables. These cables can be fragile, so take your time and ensure not to apply excessive force. Slowly and carefully lift the display to free it from the assembly.
Step 5: Install the New Screen
Now that the old screen is removed, you can install the new one. Carefully place the new display into position. Align it with the hinge and screw holes. Step by step, reconnect the display cables that were previously disconnected. After ensuring everything is secure, screw the hinges back in place. Double-check that all connections are tightly fitted.
Step 6: Reconnect the Battery
Now that the new screen is in place, it’s time to reconnect the battery. Carefully align the battery connector with the motherboard and snap it back into place. It’s essential to ensure that the connection is snug. After that, reassemble the bottom case by matching it with the original clips and screws.
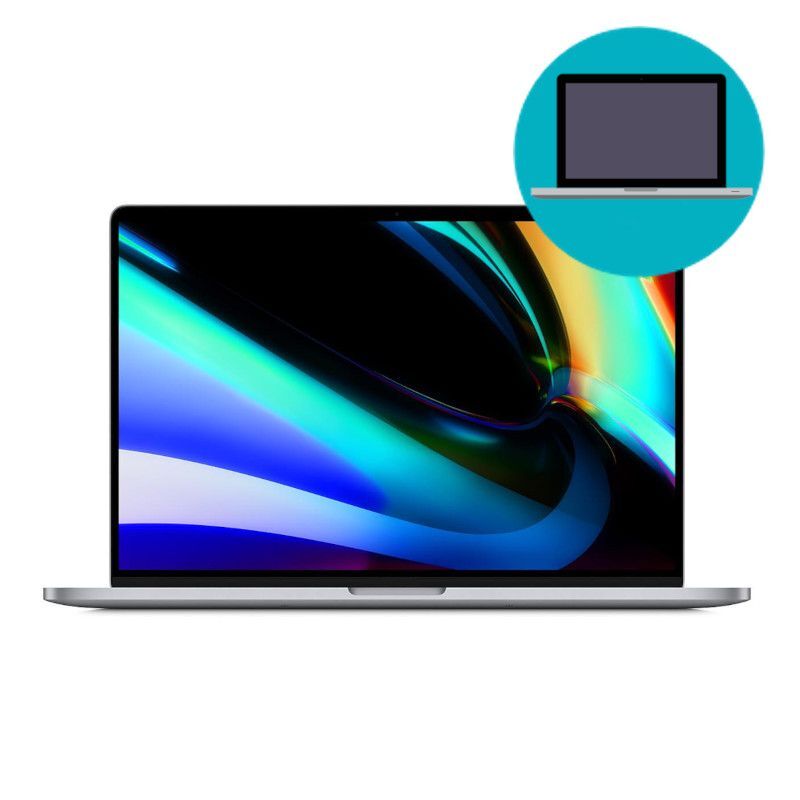
Step 7: Power It Up
With everything reconnected and secured, you can now power up your MacBook Air. Press the power button and wait for the device to boot. If you did everything correctly, it should start without issues. Check to see that the new screen displays images correctly and responds to touch. If everything is functioning well, you’ve successfully completed the replacement.

Troubleshooting Post-Replacement Issues
Sometimes, after screen replacement, issues may still arise. If the screen isn’t displaying properly, it may indicate a connection problem. Make sure all cables are securely connected. Additionally, problems may stem from faulty hardware components. If issues persist, reviewing the entire replacement process can be beneficial. Patience and thoroughness are crucial for successful DIY replacements.
Checking for Hardware Issues
If your new screen still isn’t working after checking connections, hardware issues may be the cause. Graphics card failures or issues with the logic board can lead to display malfunctions. To confirm, you may want to connect your laptop to an external monitor. If no display appears, the problem likely lies outside the screen itself. An expert opinion might be necessary if you suspect internal hardware failures.
Reassessing Your Replacement
If you experience persistent problems, consider reassessing your replacement choices. It’s possible the replacement screen is defective. In this case, returning it for a refund or replacement may be necessary. Always review the seller’s policies before making a purchase to ensure options. Clear communication with the vendor can often lead to satisfactory resolutions.
Testing the New Screen
Powering On the Device
Once you’ve completed the installation, it’s time to power on your MacBook Air. Be cautious, as the moment of truth has arrived. Starting up the device will reveal whether your installation was successful. Observe the screen closely for any issues such as flickering or dead pixels.
If the display comes to life smoothly, rejoice! You’ve successfully replaced the screen. Ensure all display functions work correctly. However, if the screen doesn’t light up, double-check your connections.
Moreover, sometimes an unexpected problem might arise even after installation. If you notice issues, it may be necessary to consult a professional technician. They can provide a thorough examination, possibly saving you from further headaches.
Conducting a Final Check
After powering on, conducting a final check is crucial. Verify that all functionalities work properly; especially touch responses and brightness levels. Adjust settings to your preference, and explore different applications to ensure performance is optimal.
Next, keep an eye out for any irregularities. Monitor the screen for flickers, color discrepancies, or lagging responses. If you encounter consistent problems, reaching out to professional support can make a difference.
Finally, don’t forget to enjoy your MacBook Air. A new screen can revitalize the device, enhancing your overall experience. Follow the maintenance tips to prolong the life of your new display.
Conclusion: The Benefits of Screen Replacement
Enhanced Device Longevity
In conclusion, replacing your MacBook Air screen brings many benefits. Not only does it restore aesthetic appeal, but it also enhances device longevity. An upgraded screen allows you to replace older, more fragile components with newer parts.
Moreover, a new display can significantly improve your overall user experience. Functions become smoother, brightness levels increase, and color accuracy improves. These enhancements can ultimately make a world of difference, especially for tasks requiring attention to detail.
Overall Cost-Effectiveness
Additionally, while replacement costs might seem daunting, it can be a cost-effective solution in the long run. The price of repair is often much lower than purchasing a new device. This means you can continue using your existing laptop without incurring significant expenses.
Finally, a new screen not only revitalizes your MacBook Air but also offers an opportunity to learn new skills. Completing a DIY screen replacement builds confidence and technical know-how. Whether you choose to go it alone or enlist professional help, following these steps ensures a successful outcome.
By properly addressing screen damage, you will enjoy your MacBook Air for many more years. Ensure you keep up with routine maintenance for optimal performance. This way, your investment remains worthwhile. Overall, the effort and expense of screen replacement often pay off significantly.