 Introduction:
If you find yourself in need of an envelope but don’t have one on hand, you can easily create one using a sheet of printer paper. Making your own envelope is not only convenient but also allows for customization and creativity. In this comprehensive guide, we will provide a step-by-step process on how to make an envelope out of printer paper. By following these simple instructions, you can create a custom envelope whenever you need one.
 Paper Sizes and Weights in Printing
Paper is a fundamental material used in printing and various other applications. Different industries and regions use varying paper sizes and weights, which are standardized to ensure compatibility and ease of use.
Paper Sizes:
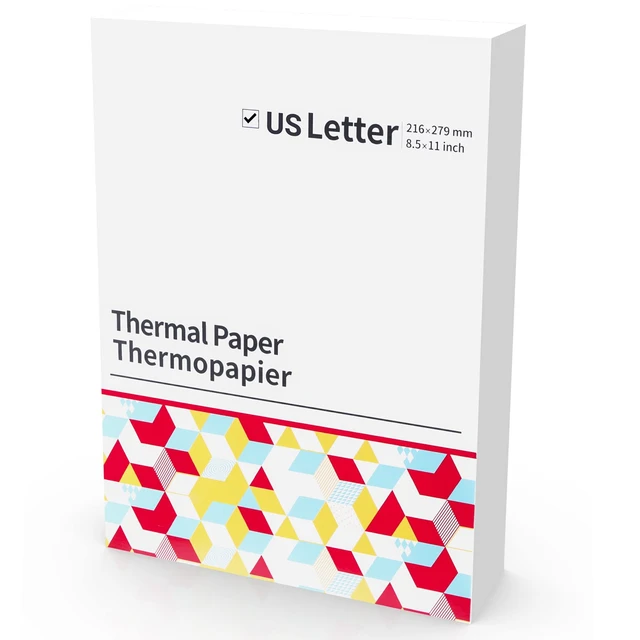
Letter Size: The most common paper size in North America is letter size, measuring 8.5 inches by 11 inches (216 mm by 279 mm).
A4 Size: A4 is the standard paper size used in most other countries. It measures 8.27 inches by 11.69 inches (210 mm by 297 mm).
Other Paper Sizes:
Legal Size: This paper size is often used for legal documents and measures 8.5 inches by 14 inches (216 mm by 356 mm).
Tabloid Size: Tabloid, or ledger, size is common for newspapers and measures 11 inches by 17 inches (279 mm by 432 mm).
A3 and A5: A3 paper measures 11.69 inches by 16.54 inches (297 mm by 420 mm), while A5 paper measures 5.83 inches by 8.27 inches (148 mm by 210 mm).
Paper Weights:
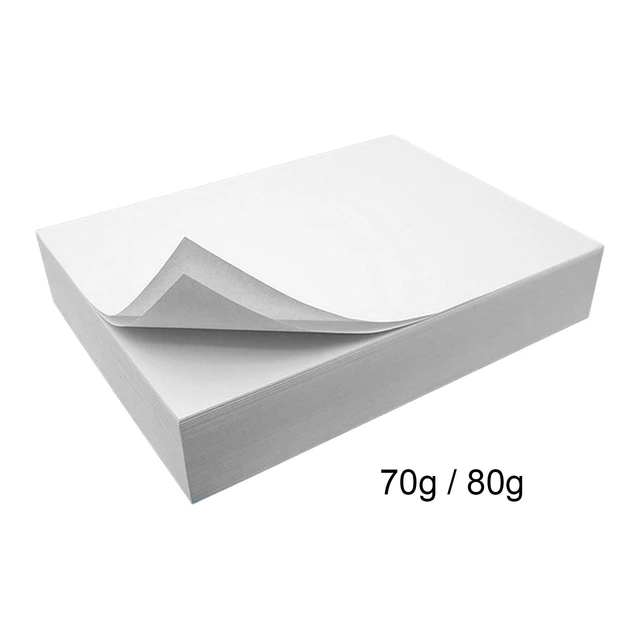
Basis Weight: The weight of paper is denoted by its basis weight, which measures the weight of a ream (500 sheets) of paper in pounds (lb) or grams per square meter (gsm). Commonly used basis weights include 20 lb, 24 lb, and 28 lb for standard office paper.
Cardstock: Cardstock is a thicker, sturdier grade of paper primarily used for business cards, invitations, and packaging. It typically ranges from 50 lb to 100 lb (135 gsm to 270 gsm) or higher, depending on the desired thickness.
Text Weight: Text weight paper is lighter than cardstock but heavier than standard office paper. It is suitable for brochures, flyers, and newsletters. Text weight paper generally ranges from 60 lb to 100 lb (90 gsm to 150 gsm).
The standard paper sizes used in printing include letter size (8.5″ x 11″) and A4 size (8.27″ x 11.69″), primarily used in North America and other countries respectively. There are also other sizes available, such as legal size and tabloid size. Paper weight is measured in basis weight, which indicates the weight of a ream of paper, usually expressed in pounds or grams per square meter (gsm). Standard office paper typically ranges from 20 lb to 28 lb, while cardstock and text weight paper offer thicker and heavier options for specific printing needs. It is essential to choose the appropriate paper size and weight based on the printing project’s requirements to ensure satisfactory results.
Materials and Preparation
Gather Materials:
Collect the necessary materials, including a sheet of printer paper, scissors, a ruler, a pencil, and adhesive such as glue or double-sided tape.
Choose Paper Size:
Determine the desired size of your envelope based on the contents you plan to send.
Keep in mind that the paper should be larger than the item it will contain.
 Folding and Cutting the Paper
Place the Paper:
Lay the sheet of printer paper flat on a clean and smooth surface, ensuring that the side you want to be the inside of the envelope is facing up.
Measure and Mark:
Measure and mark the exact center of the paper lengthwise with a pencil.
Make a light line or dot to indicate the center.
Fold the Bottom Edge:
Take the bottom edge of the paper and fold it upwards to meet the center mark.
Ensure that the edge aligns with the center mark precisely.
Secure the Bottom Fold:
Crease the fold firmly to create a sharp edge.
If desired, use adhesive to secure the bottom fold in place, applying it along the edge.
Fold the Sides:
Take one side of the paper and fold it toward the center, aligning the edge with the bottom fold.
Repeat the process with the other side, ensuring that both sides align with the bottom fold.
Secure the Side Folds:
Crease the side folds firmly to create neat edges.
Apply adhesive to the side folds if desired, ensuring that they are secured.
Sealing and Finishing
Fold the Flap:
Take the top flap of the envelope (the remaining unfolded portion) and fold it down towards the front of the envelope.
Adjust the size of the flap depending on personal preference or the size of the contents.
Seal the Flap:
Apply adhesive, such as glue or double-sided tape, to the inside of the flap.
Press the flap firmly against the back of the envelope to seal it.
Trim Excess Paper:
If necessary, trim any excess paper from the flap or sides to achieve a neater appearance.
Use scissors to carefully remove any unnecessary paper.
 Benefits of Using Printed Paper for Envelope Making
Personalization:
Custom Design: Using printed paper allows for personalized envelope designs, incorporating logos, names, graphics, or images that align with the sender’s identity or occasion. It adds a personal touch and helps create a memorable impression.
Branding Opportunities: For businesses, printed envelopes offer an opportunity to showcase brand elements such as logos, taglines, and colors, enhancing brand recognition and reinforcing a professional image.
Cost-Effective Option:
Cost Savings: Making envelopes from printed paper can be a cost-effective solution, especially for small businesses or individuals. It eliminates the need to purchase pre-made envelopes, reducing expenses for bulk mailings or large quantities.
Efficient Printing: By utilizing existing printed materials, such as letterheads, brochures, or promotional materials, to create envelopes, resources are maximized, minimizing waste and reducing printing costs.
Versatility and Creativity:
Multiple Sizes: With printed paper, envelopes can be tailor-made in various sizes to suit specific needs, from standard business envelopes to oversized or custom-sized envelopes.
Creative Options: Printed paper offers a wide range of color and design possibilities. It allows for the incorporation of patterns, textured papers, or special finishes like foil stamping or embossing, enhancing the overall appearance and aesthetics of the envelope.
Consistency and Professionalism:
Brand Cohesion: Using printed paper for envelope making ensures consistency in branding and corporate identity. It aligns with other printed materials, such as letterheads or business cards, creating a cohesive and professional look.
Enhanced Presentation: Investing the time and effort to create custom envelopes demonstrates attention to detail and professionalism. It can elevate the perceived value of the contents and leave a lasting impression on recipients.
Eco-Friendly Choice:
Reduced Waste: Making envelopes from printed paper encourages resourcefulness and reduces waste by repurposing existing printed materials.
Sustainable Practices: Utilizing recycled or responsibly sourced printed paper can contribute to eco-friendly practices, aligning with sustainability goals and reducing the environmental impact.
 Conclusion:
Making an envelope out of printer paper is a practical and creative solution when you find yourself in need of one. By following the step-by-step instructions outlined in this comprehensive guide, you can easily create a custom envelope. Remember to gather the necessary materials, measure and cut the paper carefully, and use adhesive to secure the folds and seal the envelope. With just a few simple steps, you can have a personalized envelope ready for your mailing needs. Enjoy the convenience and creativity of making your own envelopes using readily available materials!
