making our professional lives more efficient, productive, and interconnected.

Tag: router setting

How to Setup VPN on Router?

Setup a VPN on your router provides enhanced online privacy. It allows all devices connected to the network to benefit from VPN features. As security threats continue to evolve, a VPN can be an essential defense. This article details the necessary steps and considerations to setup a VPN on your router, ensuring a robust online experience for all users.

What is a VPN?

A Virtual Private Network, or VPN, encrypts your internet traffic. This means your data is protected from hackers and snoopers. When you connect to a VPN, it creates a tunnel for your data. This secure tunnel is crucial for maintaining privacy online.

Additionally, VPNs allow you to access restricted content. Sometimes, certain websites or services may be blocked in your region. By connecting to a VPN server in another location, you can bypass these restrictions. This is particularly useful for streaming services. You can access a wider range of content without geographical limitations.

Understanding the basics of how VPNs work is vital. It prepares you for the setup process. You can make informed decisions on the options available. For example, you can choose which protocols to use and what provider best meets your needs.

Types of VPNs

There are several types of VPNs available. Each has its own unique features tailored to different user needs. The most common types are Remote Access VPN and Site-to-Site VPN.

Remote Access VPNs allow individual users to connect to a private network from a remote location. This is particularly useful for employees working from home. On the other hand, Site-to-Site VPNs connect entire networks together. They are often used by businesses with multiple locations.

In addition, there are different protocols used in VPNs. PPTP, L2TP/IPsec, and OpenVPN are some notable examples. Each protocol has its advantages and disadvantages. Knowing these helps you choose which features are most essential for your situation.

Set Up a VPN on Your Router

Setting Up the VPN on Your Router

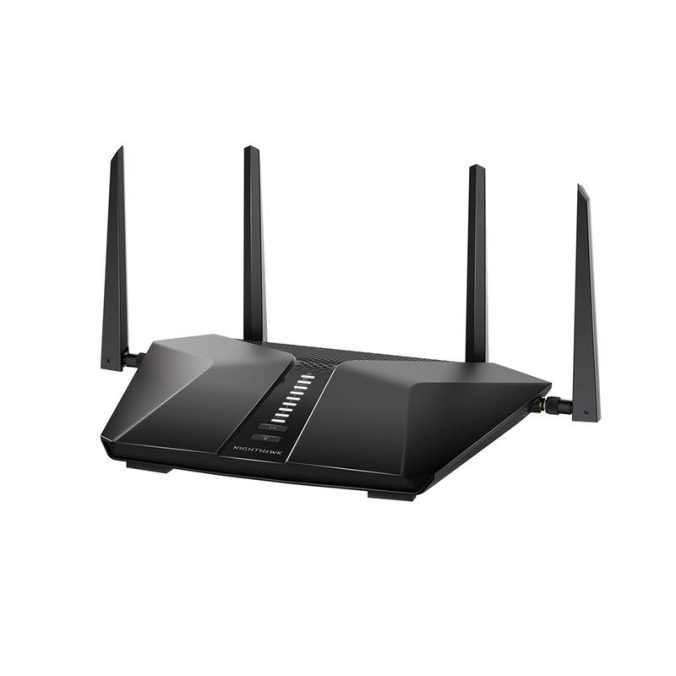
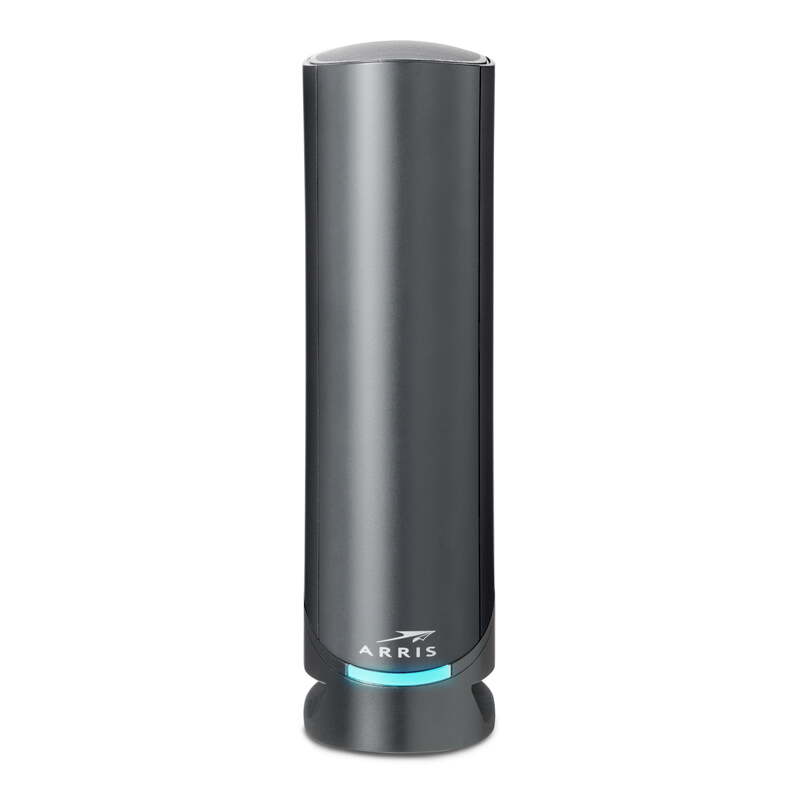
Selecting the Right Router

Setting up a VPN on your router enhances your network’s security and anonymity. First, check if your router supports VPN functionality—typically found in high-end models. Choosing the appropriate router is a critical first step. Not all routers support VPN connections. Therefore, it’s vital to ensure that yours does. Many high-end routers come with built-in VPN functionality. However, some might require third-party firmware for full support.

When selecting a router, consider the speed. A slower router could hinder your internet experience while connected to a VPN. Look for routers that support dual-band frequencies as well. This ensures that multiple devices can connect without sacrificing speed.

You should also check if the router supports your preferred VPN protocol. Some routers may only support specific protocols like PPTP. Others might offer more versatility, allowing connections for OpenVPN or L2TP.

Choosing a VPN Provider

The next critical step is selecting a reliable VPN provider. Not all VPNs are created equal; their features vary widely. Look for providers that offer secure encryption standards. Most reputable VPNs provide AES-256 bit encryption to protect your data.

Additionally, consider the server locations available. More server locations mean better access to global content. You can bypass geographical restrictions easily when there are multiple options.

Another important factor is the speed of the VPN service. You don’t want a service that significantly slows down your connection. To make an informed choice, read user reviews and performance tests.

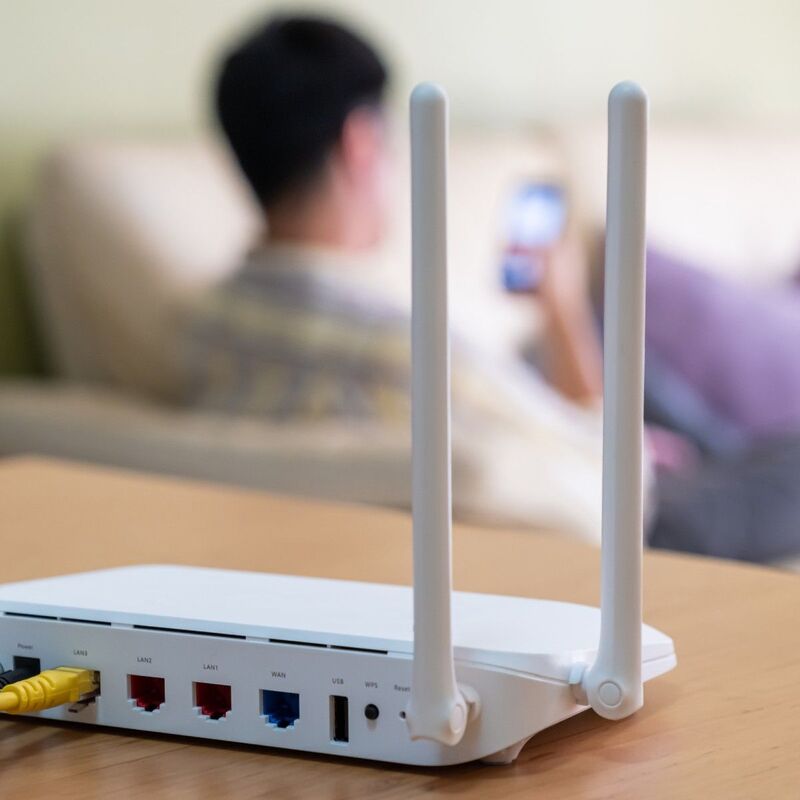
Accessing the Router’s Configuration Page

After you’ve chosen your router and VPN provider, the next step is accessing the router’s configuration page. This is typically done by entering the router’s IP address into the web browser. Most common router IPs are 192.168.1.1 or 192.168.0.1, but you might need to check your manual.

You will need to enter the admin username and password. The default credentials are often printed on the router or found in the user manual.

Once logged in, navigate to the VPN settings section. This area may be labeled differently depending on the router model. Familiarize yourself with the interface to make the setup process smoother.

Set Up a VPN on Your Router

Configuring VPN Settings

Inputting VPN Details

With access to the router settings, it’s time to enter the VPN details. These include the server address, your username, and your password. It’s essential that this information is correct to establish a successful connection.

Usually, your VPN provider should have a setup guide for various router types. Refer to this guide as needed for specifics. Some providers may also supply configuration files, which can simplify the process significantly.

Make sure to select your preferred VPN protocol as well. If your chosen VPN supports multiple protocols, opt for the one that meets your security and speed needs.

Testing the VPN Connection

Once you’ve input all necessary details, save the settings and restart your router. After it reboots, it’s important to test the VPN connection. Using a device connected to the router, access a site like “whatismyip.com” to check your IP address.

This address should display the location of the VPN server, not your actual location. If everything is working correctly, your browsing should now be encrypted and secure.

However, if you encounter issues, consult your VPN provider’s troubleshooting guide. They often have specific instructions for common problems. You can also search online forums for solutions and tips from experienced users.

Additional Considerations

Security and Privacy Features

Beyond the basic setup, consider additional security features. Many VPN providers offer options such as a kill switch or DNS leak protection. A kill switch automatically disconnects your internet if the VPN connection drops unexpectedly. This ensures that your data isn’t exposed during disconnections.

DNS leak protection helps prevent your DNS requests from being visible outside the VPN tunnel. Without this feature, your web activities could be traced by your Internet Service Provider.

All these features enhance your overall security and privacy. Make sure to enable them where available. Also, regularly check if there are software or firmware updates for your router. Keeping your firmware up-to-date is essential for security.

Set Up a VPN on Your Router

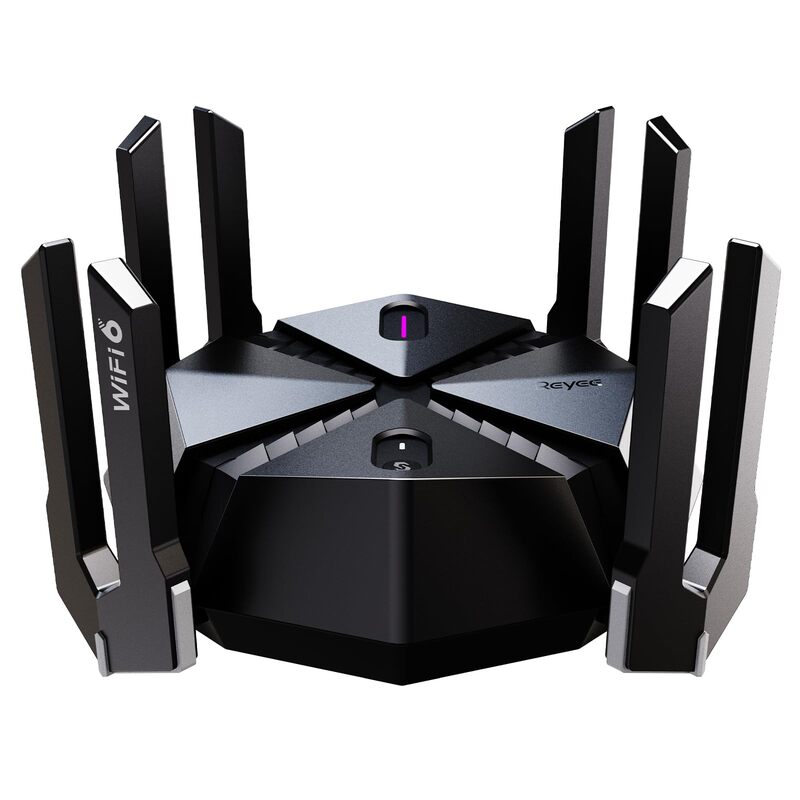
Managing Multiple Devices

One of the benefits of setup a VPN on your router is the ability to manage multiple devices. All connected devices can benefit from the VPN’s protection, ranging from laptops to smart TVs.

This also means you avoid downloading VPN software on each individual device. However, monitoring device performance and VPN speeds becomes essential. Some routers may struggle under heavy load. So, keeping an eye on your network performance can provide insights for necessary adjustments.

For homes with many devices, you might consider a more robust router. Investing in a router designed for high performance can significantly benefit your network. It improves both speed and connectivity for all devices.

Conclusion

Setting up a VPN on your router is an excellent choice for enhanced privacy. By taking the time to understand VPNs, selecting the right hardware and service, and carefully configuring the settings, you can create a secure environment for your online activities.

Remember, investing in online security is increasingly important in today’s digital landscape. Regularly reviewing your settings and keeping up-to-date with provider offerings ensures optimal protection. Protecting your online activities is not a one-time task but an ongoing commitment. As threats evolve, so should your methods of defense.

By following these detailed steps, you can confidently set up a VPN on your router and enjoy a more secure online experience.

How to Configure a Router to Use WPA2

Securing your home or office network is essential in today’s digital age. Wi-Fi Protected Access II (WPA2) is one of the most common and robust security protocols available for wireless networks. If you’re looking to secure your wireless network using WPA2, you need to configure your router accordingly. This detailed guide will walk you through the entire process to ensure that your network uses WPA2 security protocol to keep unauthorized users out.

Understanding WPA2 Security

What is WPA2?

WPA2 stands for Wi-Fi Protected Access II. It is the second generation of WPA security protocols. Created by the Wi-Fi Alliance, WPA2 was officially standardized in 2004. It introduced stronger encryption than its predecessor, WPA. WPA2 uses Advanced Encryption Standard (AES) to encrypt the data shared over a wireless network. Therefore, it provides better security and performance.

Why Choose WPA2?

Many people wonder why they should opt for WPA2 over other security protocols. First, WPA2 offers better encryption. This means your data is more secure. Second, most modern devices support WPA2. If you wish to have a secure network, it’s wise to choose WPA2. However, remember that even the best security measures only work if configured correctly.

Preparing for Configuration

Gather Required Information

Before you begin to configure router to use wpa2, gather the necessary information. You’ll need your router login details. These include the IP address, username, and password. Usually, this information is on a label on your router or included in the user manual. Gathering this info beforehand will make the process smoother.

Update Firmware

Ensure that your router’s firmware is updated to the latest version. Manufacturers regularly release updates to fix bugs and improve security. Navigate to the manufacturer’s website and download any updates. Be cautious while updating firmware, as interruptions can render your router unusable. Always follow the instructions closely.

configure router to use wpa2

Accessing the Router’s Settings

Connect to the Network

Your first step is to connect to your router. You can use a wired Ethernet connection or connect via Wi-Fi. Using Ethernet is often more stable. However, Wi-Fi works just fine if Ethernet isn’t an option. Verify your connection before proceeding.

Log into the Admin Interface

Next, access the router’s admin interface. Open a web browser and type in the router’s IP address. Common addresses include 192.168.1.1 or 192.168.0.1. Consult your router’s manual if these addresses don’t work. You’ll be prompted to enter your username and password. Once logged in, you will gain access to the admin interface where you can change settings.

Configuring WPA2 Security Settings

Navigate to Wireless Settings

Once inside the admin interface, locate the Wireless Settings section. The categorization may vary but look for terms like wireless, WLAN, or Wi-Fi. Usually, this is easily found on the main navigation menu. Click on it to access the settings.

Select WPA2 Protocol

Under Wireless Settings, you will find options for selecting the security protocol. Choose WPA2 from the dropdown menu. Ensure that you select WPA2-PSK (Pre-Shared Key) for a home network. For businesses, WPA2-Enterprise might be more appropriate.

Set a Strong Password

The next step is setting a strong password. Choose a password at least eight characters long. Mix letters, numbers, and special characters to strengthen it. Avoid using easily guessed passwords like “password” or “12345678”. Enter your chosen password in the designated field.

Additional Encryption Options

Some routers offer additional encryption options. For WPA2, always opt for AES encryption if given a choice. AES is more secure than the older TKIP (Temporal Key Integrity Protocol). Confirm that AES is selected before saving your settings.

Configuring the SSID

Understanding SSID

The SSID is your network name, a unique identifier for your wireless network. Changing the default SSID makes your network less inviting to potential attackers. Often, default SSIDs make it clear which manufacturer made the router.

How to Change SSID

Navigate back to the Wireless Settings section. Here, you will find an option to change the SSID. Enter your new, unique SSID. Avoid using personal information in the SSID. Save your changes to apply the new SSID to your network.

configure router to use wpa2

Testing the Configuration

Connecting Devices

Once you finish the setting to configure router to use wpa2 , you need to test the network. Connect your devices using the new SSID and password. Confirm that each device can access the internet. Testing multiple devices ensures that all can connect without issues.

Verifying Encryption

Some tools can help you verify the encryption type. Apps like Wi-Fi Analyzer or command-line tools can help. Ensure that your network is indeed using WPA2-AES. This verification step ensures your network is as secure as configured.

Troubleshooting Common Issues

Connectivity Problems

Sometimes, after changing security settings, you might encounter connectivity issues. Double-check that your devices are set to connect using WPA2. Often, older devices need firmware updates to support WPA2. Check the manufacturer’s website for updates.

Forgotten Password

Forgetting your network password can be frustrating. Log back into the router admin settings to reset it. Navigate to the Wireless Settings and change the password. Note the new password somewhere secure to avoid future issues.

configure router to use wpa2

Advanced Security Tips

Disable WPS

Wi-Fi Protected Setup (WPS) is a feature designed to simplify connecting devices to the network. Unfortunately, it comes with significant security risks. We highly recommend disabling WPS. Navigate to the WPS settings and ensure it is turned off.

Regularly Update Router Firmware

Keeping your router firmware up to date is crucial. Manufacturers release updates that address new security vulnerabilities. Set a reminder to check for updates quarterly. Always download updates directly from the manufacturer’s website.

Monitor Connected Devices

Regularly monitoring devices connected to your network adds an extra layer of security. Most routers feature a dashboard displaying connected devices. Periodically review this list. Promptly disconnect any unfamiliar devices to secure your network.

Change Default Admin Credentials

Changing the default admin username and password is vital. These credentials can often be found online, making them a prime target. Navigate to the admin settings and change these credentials to something robust. Always use a strong password.

Conclusion

Navigating the digital world requires securely managing your wireless networks. By following these steps, you can configure your router to utilize WPA2, enhancing your network’s security. From understanding WPA2 to navigating admin settings, each step is crucial. Regularly update your firmware and practice advanced security tips to keep your network secure. Adopting these practices ensures that you are taking proactive steps to protect your personal information.

Configuring your router to use WPA2 encryption is an important step in securing your wireless network from potential threats and unauthorized users. By following these steps, you ensure that data transmitted over your network is encrypted and thus protected from eavesdroppers. WPA2 provides a stronger level of security compared to its predecessors, WEP and WPA, mitigating risks such as data breaches and unauthorized network access. It’s essential to use a strong passphrase and periodically update it to maintain high security standards.

Moreover, keeping your router’s firmware updated and regularly checking for security patches will help protect against emerging vulnerabilities. Proper security settings not only protect personal data and online activities but also safeguard smart home devices and other network-dependent technologies, ensuring a secure and reliable internet experience for all users. By securing your network with WPA2, you take a proactive stance in safeguarding your digital footprint in an increasingly connected world.