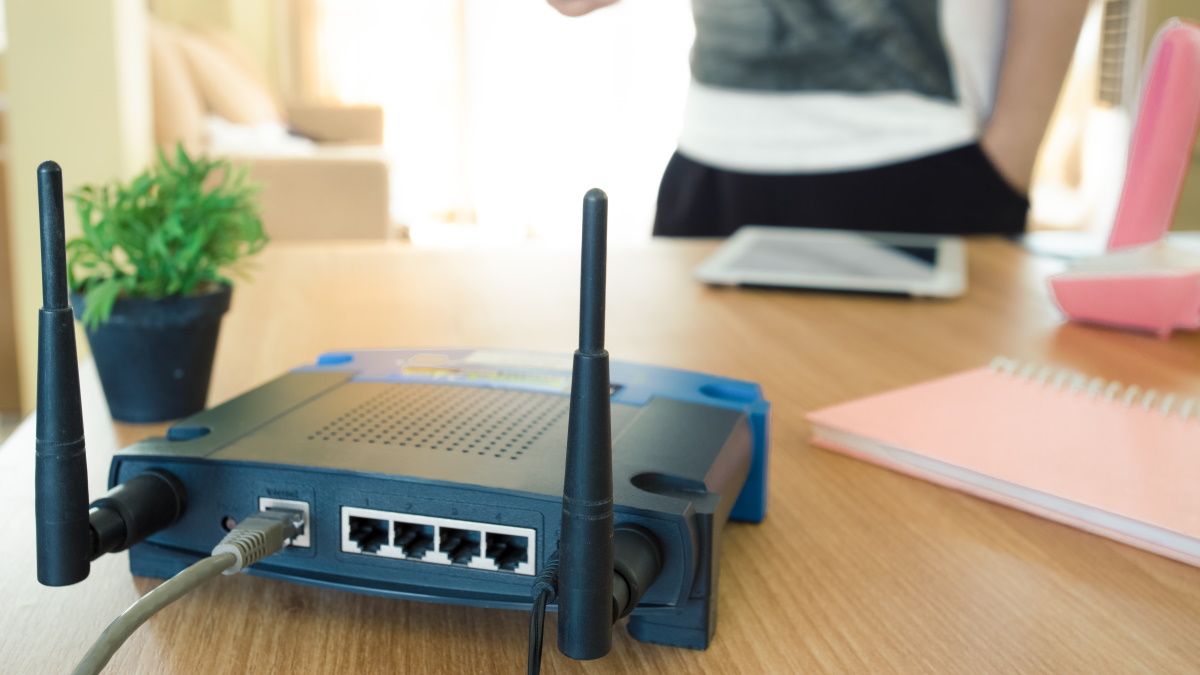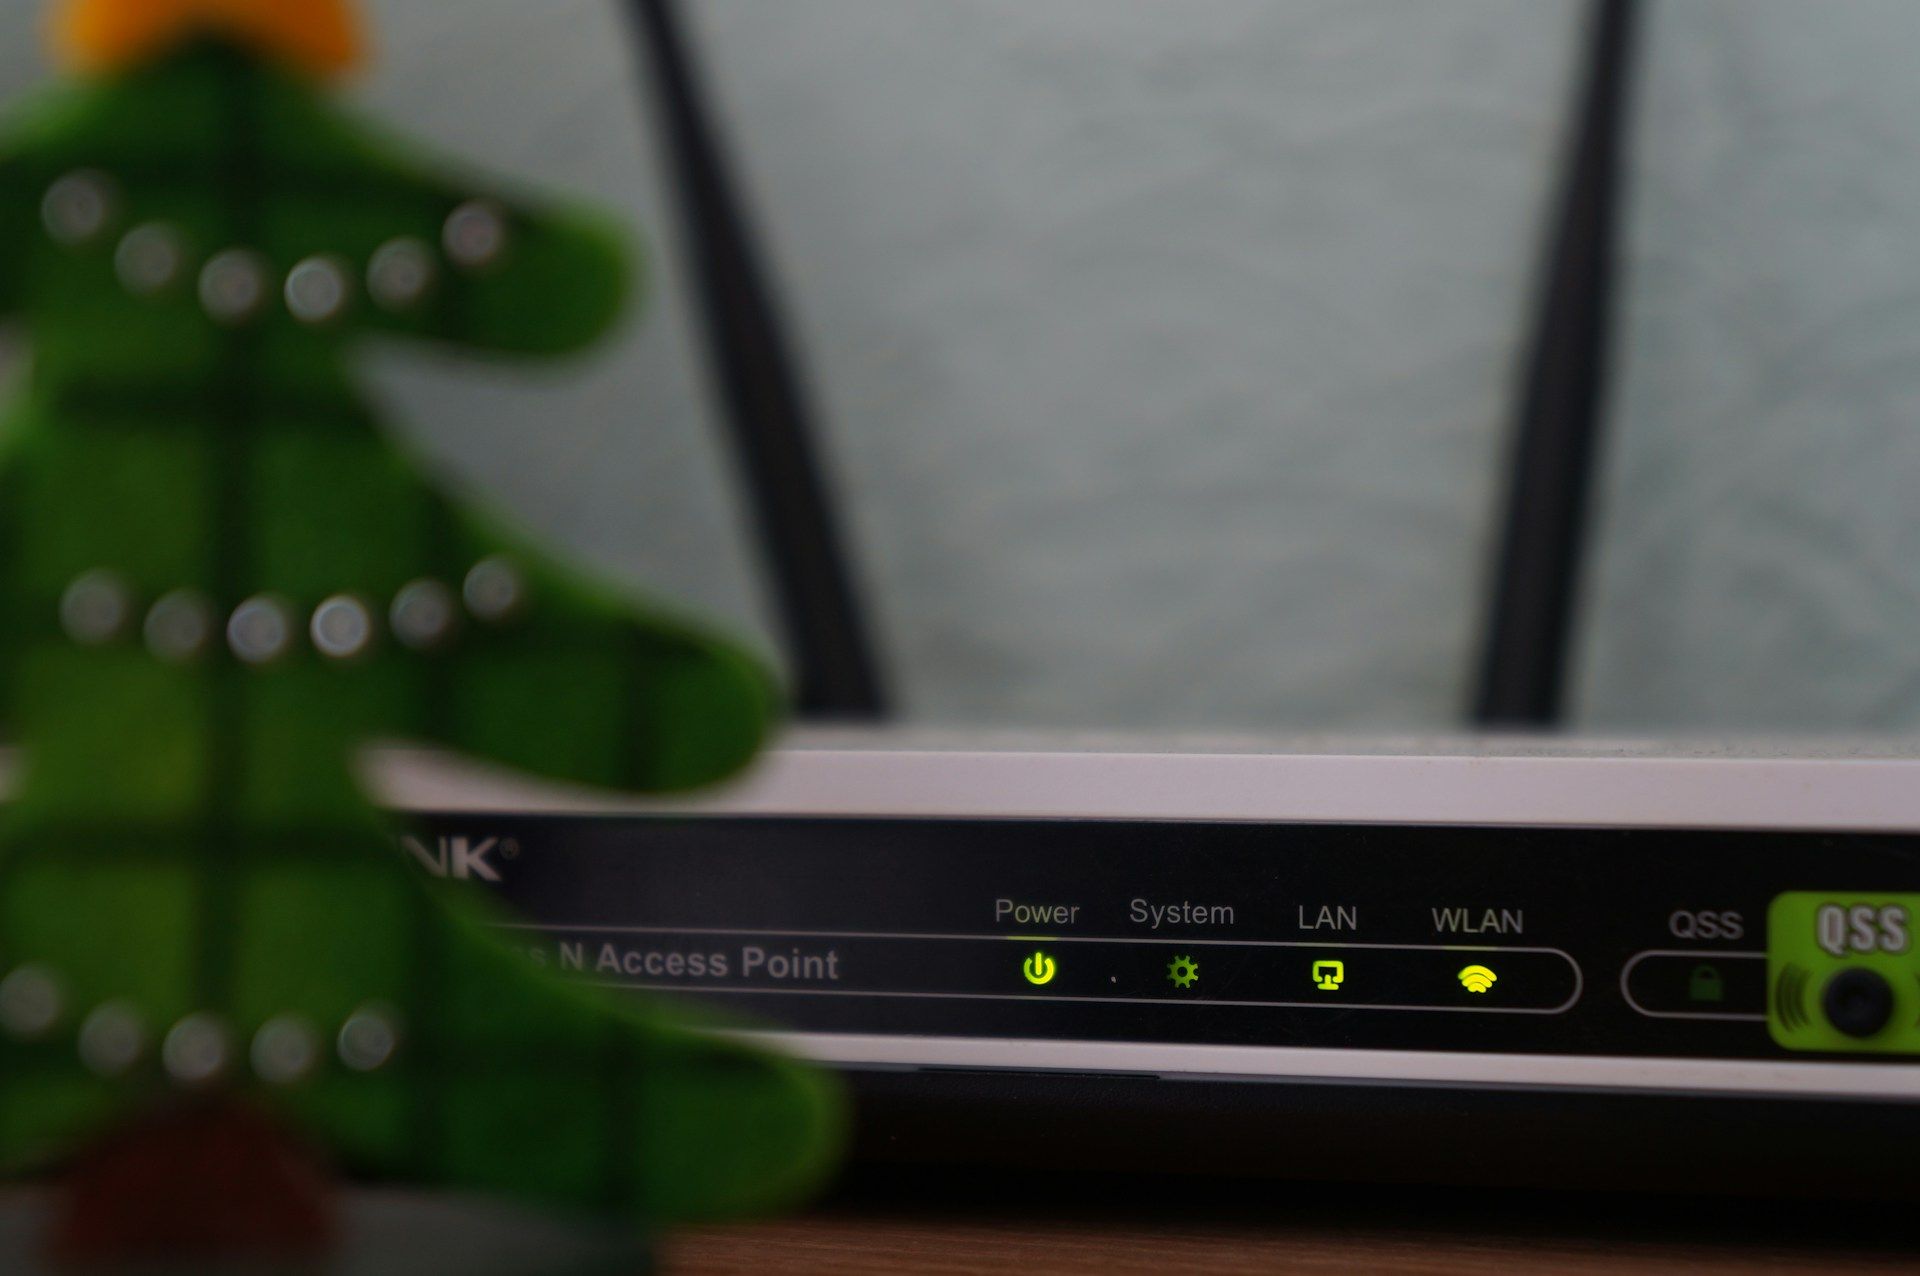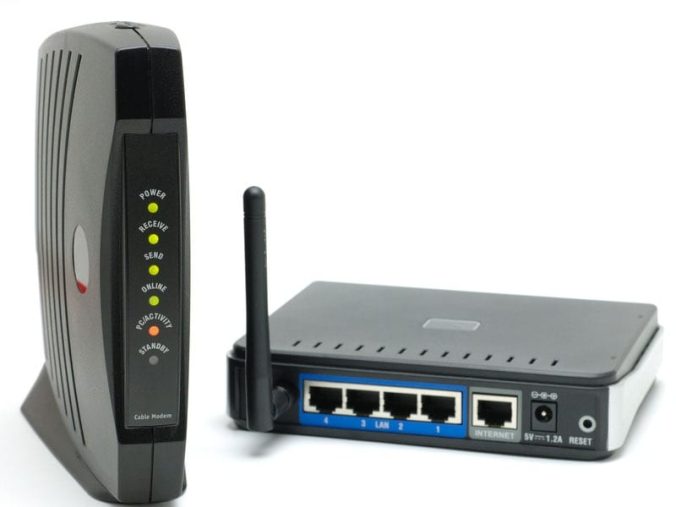
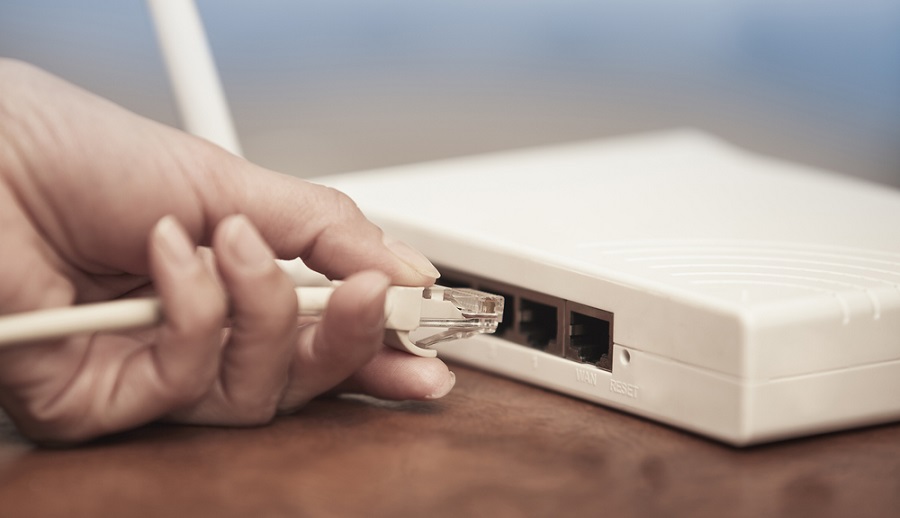
Understanding how to find the IP address of your router is crucial for managing home and office networks. Whether you need to configure settings, adjust security options, or troubleshoot connectivity issues, accessing your router’s IP address is often the first step. Consequently, knowing how to locate this information can save you time and frustration. Therefore, this comprehensive guide explores various methods to find your router’s IP address on different devices and operating systems. By following these steps, you can efficiently access your router’s settings and maintain a reliable network.
Why You Need to Know Your Router’s IP Address
Knowing your router’s IP address serves multiple purposes that are essential for network management. Understanding these purposes helps you appreciate the importance of this information. Therefore, exploring why you need your router’s IP address is essential.
Configuring Network Settings
One primary reason to know your router’s IP address is for configuring network settings. When you access your router’s admin interface, you can change your network name (SSID), password, and other settings to optimize performance and security. By understanding your router’s IP address, you can efficiently navigate these configurations and ensure a stable connection. Therefore, recognizing the importance of network configuration is crucial.
Troubleshooting Connectivity Issues
Another critical reason to know your router’s IP address is for troubleshooting connectivity issues. If you experience slow internet speeds, disconnections, or other network problems, accessing your router’s settings can help diagnose and resolve these issues. By understanding the role of your router’s IP address in troubleshooting, you can maintain a reliable and efficient network. Therefore, recognizing the value of effective troubleshooting is essential.
Finding Your Router’s IP Address on Windows
Finding your router’s IP address on a Windows computer is a straightforward process. Understanding these steps ensures you can access your router’s settings efficiently. Therefore, exploring how to find your router’s IP address on Windows is essential.
Using Command Prompt
One of the simplest ways to find your router’s IP address on a Windows computer is by using the Command Prompt. Follow these steps:
- Press the
Windowskey and typecmdin the search bar. - Click on
Command Promptto open it. - Type
ipconfigand pressEnter.
The Command Prompt will display various network details. Look for the “Default Gateway” under your network connection. This IP address is your router’s IP address. By understanding how to use the Command Prompt, you can quickly find your router’s IP address on a Windows computer. Therefore, recognizing the efficiency of this method is crucial.
Using Network and Sharing Center
Another method to find your router’s IP address on a Windows computer is through the Network and Sharing Center. Follow these steps:
- Click on the
Startmenu and selectSettings. - Go to
Network & Internetand click onStatus. - Under the
Network and Sharing Center, click on your network connection. - In the new window, click on
Details.
Look for the “IPv4 Default Gateway” entry. This IP address is your router’s IP address. By understanding how to use the Network and Sharing Center, you can efficiently find your router’s IP address on a Windows computer. Therefore, recognizing the convenience of this method is essential.
Finding Your Router’s IP Address on Mac
Finding your router’s IP address on a Mac computer involves a few simple steps. Understanding these steps ensures quick access to your router’s settings. Therefore, exploring how to find your router’s IP address on a Mac is essential.
Using System Preferences
The easiest way to find your router’s IP address on a Mac computer is through System Preferences. Follow these steps:
- Click on the
Applemenu and selectSystem Preferences. - Click on
Network. - Select your network connection (Wi-Fi or Ethernet).
- Click on the
Advancedbutton. - Go to the
TCP/IPtab.
You will see the “Router” entry, which displays your router’s IP address. By understanding how to use System Preferences, you can quickly find your router’s IP address on a Mac computer. Therefore, recognizing the simplicity of this method is crucial.
Using Terminal
Another method to find your router’s IP address on a Mac computer is by using the Terminal. Follow these steps:
- Open
Terminalfrom the Utilities folder or search for it in Spotlight. - Type
netstat -nr | grep defaultand pressEnter.
The Terminal will display network routing information, showing the IP address next to “default.” This IP address is your router’s IP address. By understanding how to use Terminal, you can efficiently find your router’s IP address on a Mac computer. Therefore, recognizing the effectiveness of this method is essential.
Finding Your Router’s IP Address on Mobile Devices
Knowing how to find your router’s IP address on mobile devices is useful for on-the-go network management. Understanding these steps ensures access from any location. Therefore, exploring how to find your router’s IP address on mobile devices is essential.
Using iOS Devices
To find your router’s IP address on an iOS device, such as an iPhone or iPad, follow these steps:
- Open the
Settingsapp. - Tap on
Wi-Fi. - Ensure you are connected to your home network.
- Tap on the
iicon next to your network name.
You will see network details, including the “Router” entry, which displays your router’s IP address. By understanding how to use the Wi-Fi settings on iOS devices, you can quickly find your router’s IP address. Therefore, recognizing the convenience of this method is crucial.
Using Android Devices
To find your router’s IP address on an Android device, follow these steps:
- Open the
Settingsapp. - Tap on
Wi-FiorNetwork & Internet. - Ensure you are connected to your home network.
- Tap on the network name or press and hold it, then tap
ModifyorAdvanced.
You will see network details, including the “Gateway” entry, which displays your router’s IP address. By understanding how to use the Wi-Fi settings on Android devices, you can efficiently find your router’s IP address. Therefore, recognizing the simplicity of this method is essential.

Advanced Methods for Finding Your Router’s IP Address
In some cases, advanced methods may be required to find your router’s IP address. Understanding these methods ensures you can access your router’s settings in uncommon situations. Therefore, exploring advanced methods is essential.
Using Network Management Tools
Network management tools can provide detailed information about your network, including your router’s IP address. Tools such as Wireshark, Fing, and Network Analyzer offer comprehensive network analysis and display device details. By running a network scan, these tools can identify your router and its IP address. By understanding how to use network management tools, you can find your router’s IP address in complex network environments. Therefore, recognizing the value of these tools is crucial.
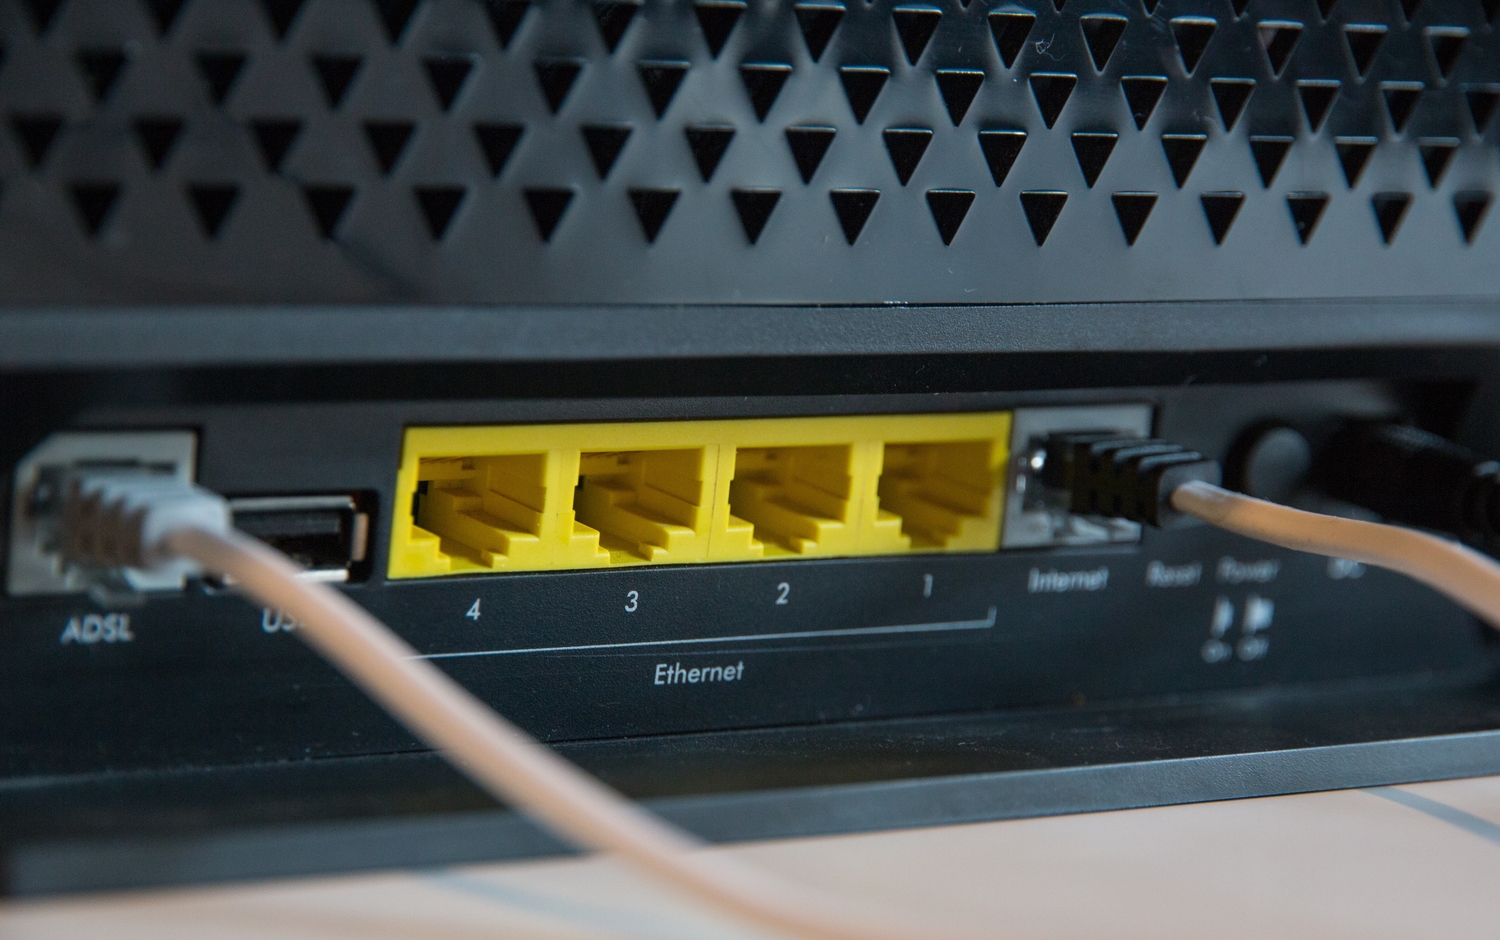
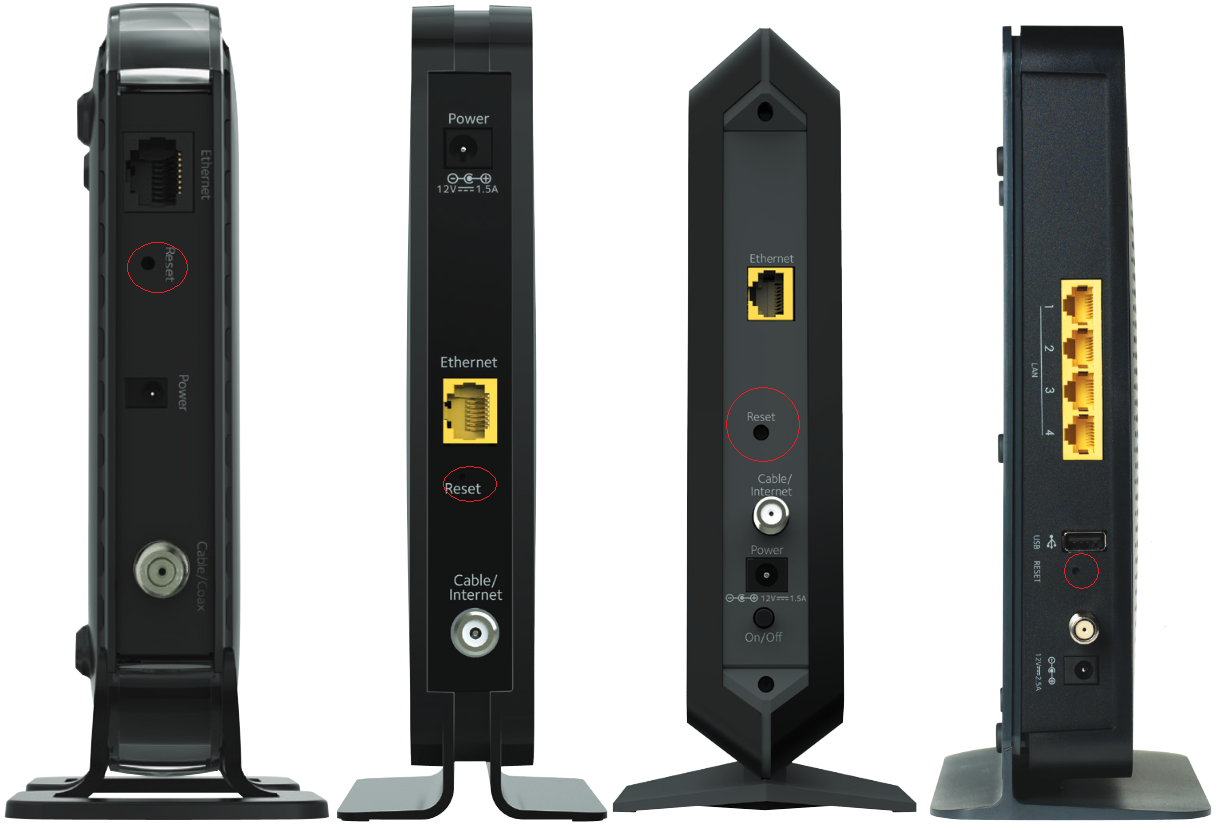
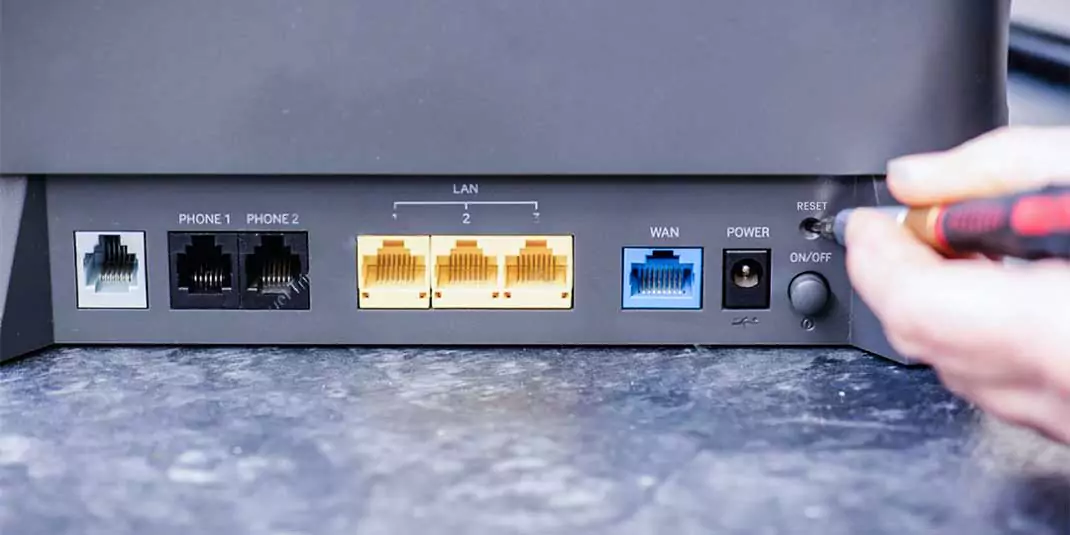
Checking Router Documentation
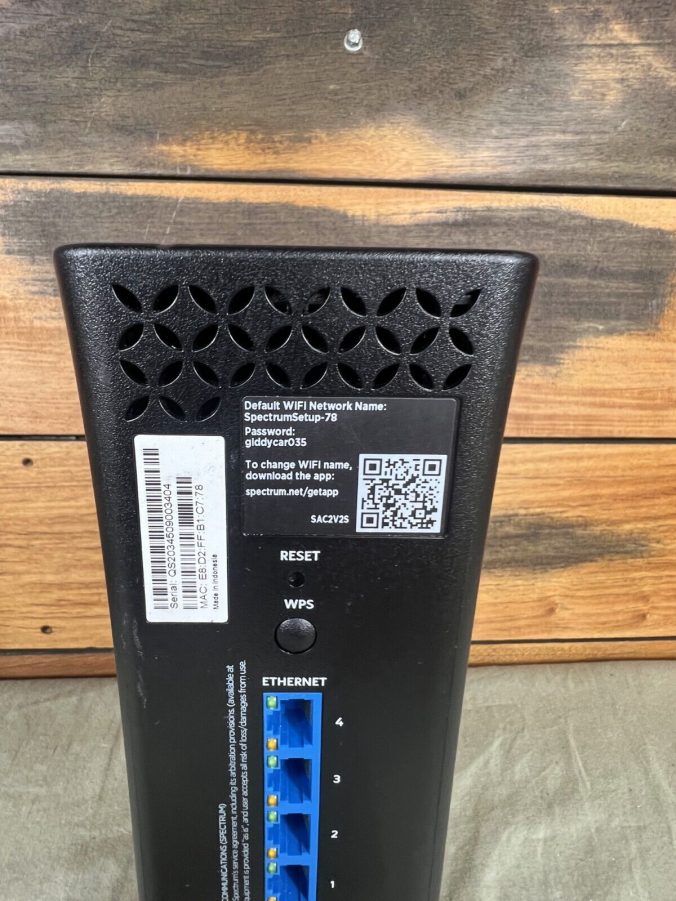
Another advanced method is to check the documentation that came with your router. Most manufacturers provide detailed manuals that include default IP addresses, which can be useful if default settings are restored. Additionally, manufacturer websites often have support pages with device-specific information, including default IP addresses. By understanding the value of router documentation, you can find your router’s IP address efficiently. Therefore, recognizing the importance of manufacturer resources is essential.
Addressing Common Questions About Router IP Addresses
Understanding common questions about router IP addresses provides clarity and enhances your troubleshooting capability. Knowledge of these answers ensures better preparation and effective use. Therefore, exploring common questions is essential.
What Is the Default IP Address of Most Routers?
A common question is what the default IP address of most routers is. For many routers, default IP addresses include 192.168.0.1, 192.168.1.1, and 192.168.1.254. These addresses are used to access the router’s admin interface. However, different manufacturers may use different default IP addresses, so it is important to refer to your router’s documentation. By understanding common default IP addresses, you can quickly access your router’s interface. Therefore, recognizing the common default IP addresses is crucial.
Can the Router IP Address Be Changed?
Another common question is whether the router IP address can be changed. Yes, the internal IP address of your router can be changed through the router’s admin interface. This is often done to improve network security or to resolve IP conflict issues. By understanding how to change your router’s IP address, you can customize and secure your network effectively. Therefore, recognizing the flexibility of IP address configuration is essential.
Addressing Common Misconceptions About Router IP Addresses
Addressing common misconceptions about router IP addresses provides accurate information and dispels unwarranted concerns. Clearing up misunderstandings ensures an informed perspective. Therefore, exploring common misconceptions is important.
Misconception: The Router IP Address Is the Same as the Public IP Address
A common misconception is that the router IP address is the same as the public IP address. In reality, the router IP address is the internal IP address used to access the admin interface. The public IP address is assigned by your ISP and identifies your network on the internet. By understanding the difference between internal and public IP addresses, you can avoid confusion and troubleshoot effectively. Therefore, dispelling this misconception highlights the importance of understanding IP address types.
Misconception: The Router IP Address Never Changes
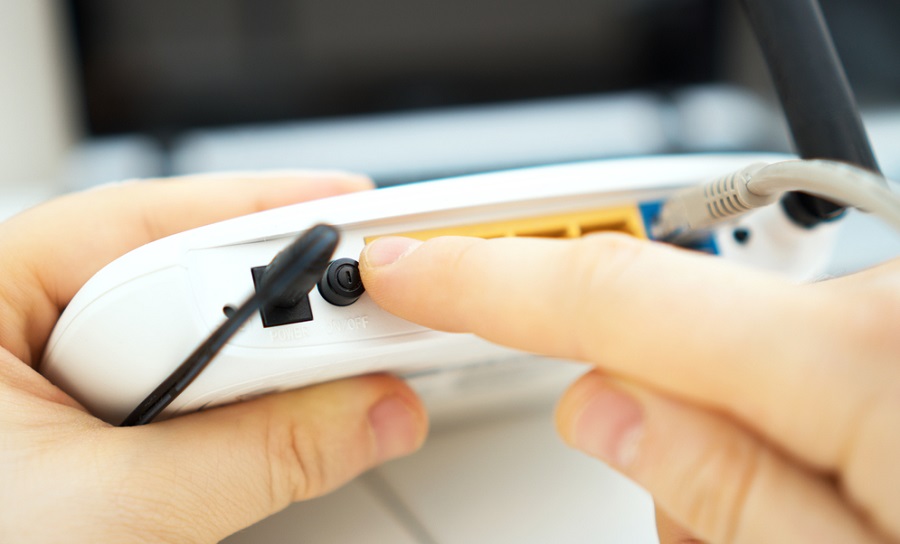
Another misconception is that the router IP address never changes. While the default IP address typically remains the same, users can change the internal IP address through the router’s settings. Additionally, if the router is reset to factory settings, the IP address may revert to the default. By understanding the potential for IP address changes, you can manage your network settings more effectively. Therefore, dispelling this misconception emphasizes the importance of IP address management.
Conclusion: Efficiently Accessing Your Router’s Settings
Efficiently accessing your router’s settings involves understanding how to find the IP address across various devices and operating systems. Proper preparation, including familiarity with advanced methods and addressing common questions, ensures effective network management.
Exploring critical aspects such as Command Prompt, System Preferences, mobile device settings, and network management tools provides comprehensive knowledge and practical approaches. Recognizing the importance of addressing common misconceptions enhances overall confidence and effectiveness in managing your router.
By engaging with these elements, you can efficiently access your router’s settings, optimize performance, and ensure a secure and reliable network. Therefore, whether you are troubleshooting connectivity issues or configuring settings, understanding how to find your router’s IP address offers practical and valuable insights. Embrace the opportunity to improve your network management, knowing you have the knowledge and resources to make informed choices!