A functional router is crucial for maintaining a stable internet connection, vital for daily activities like work, entertainment, and communication. However, experiencing a red light on your Spectrum router can be disconcerting. This red light often indicates various issues, from connectivity problems to hardware malfunctions. Knowing how to interpret and troubleshoot the red light can save time and restore your internet connection swiftly. Therefore, this comprehensive guide aims to help you understand the significance of a red light on your Spectrum router and provide step-by-step troubleshooting methods. By the end of this article, you will have the knowledge necessary to address these issues effectively.
Understanding the Spectrum Router Red Light
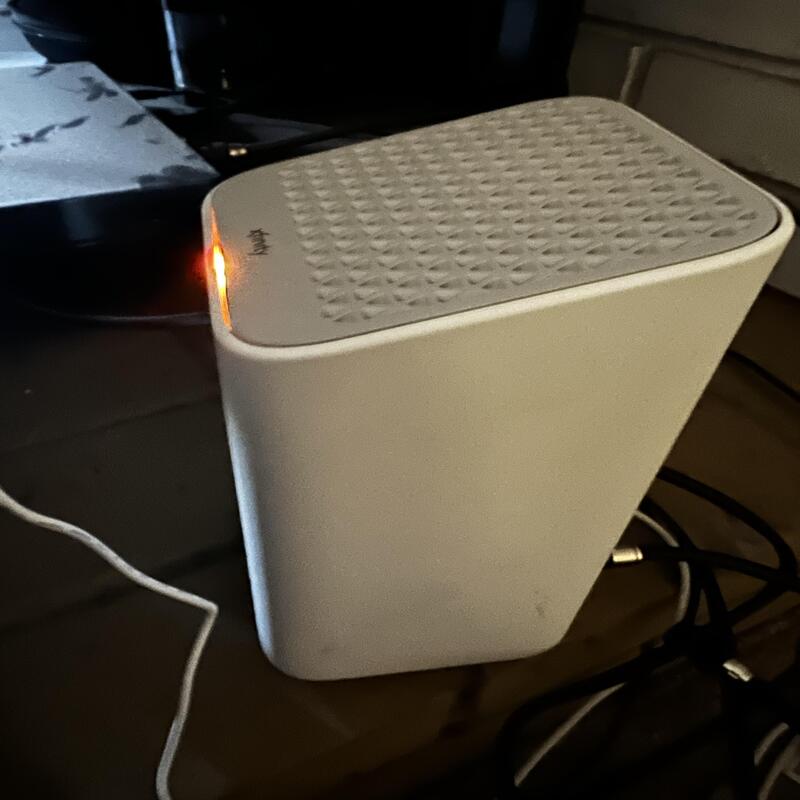
The first step in troubleshooting any issue is understanding its cause. Therefore, knowing what the red light signifies on your Spectrum router is crucial.
Indicators and Their Meanings
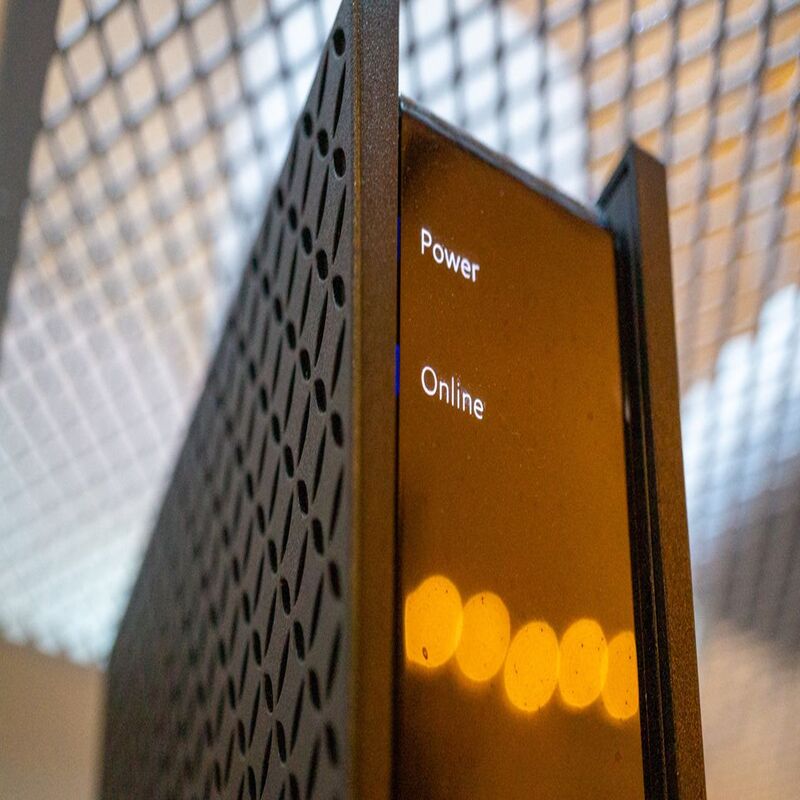
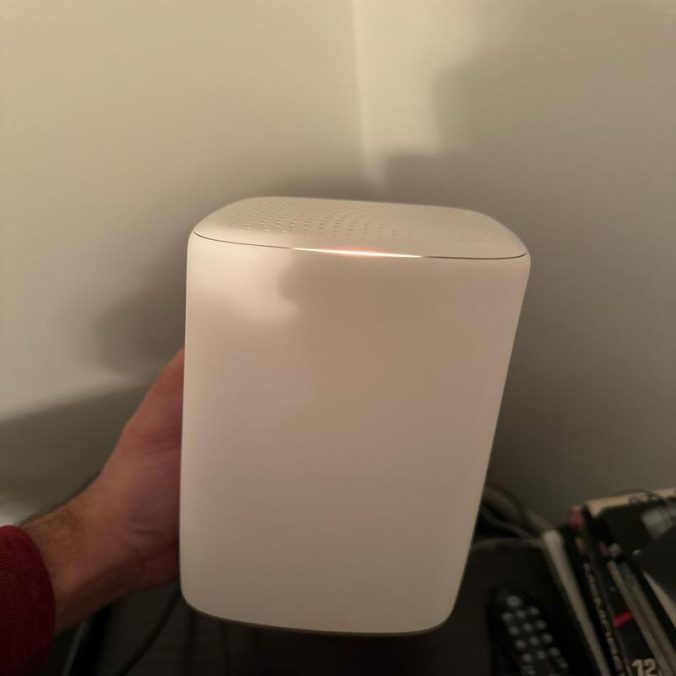
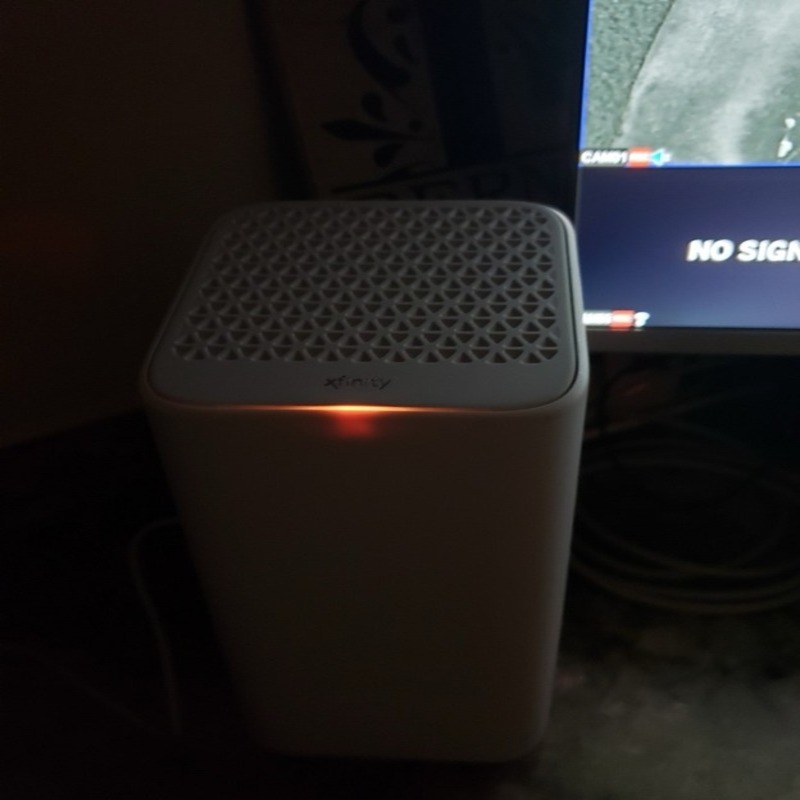
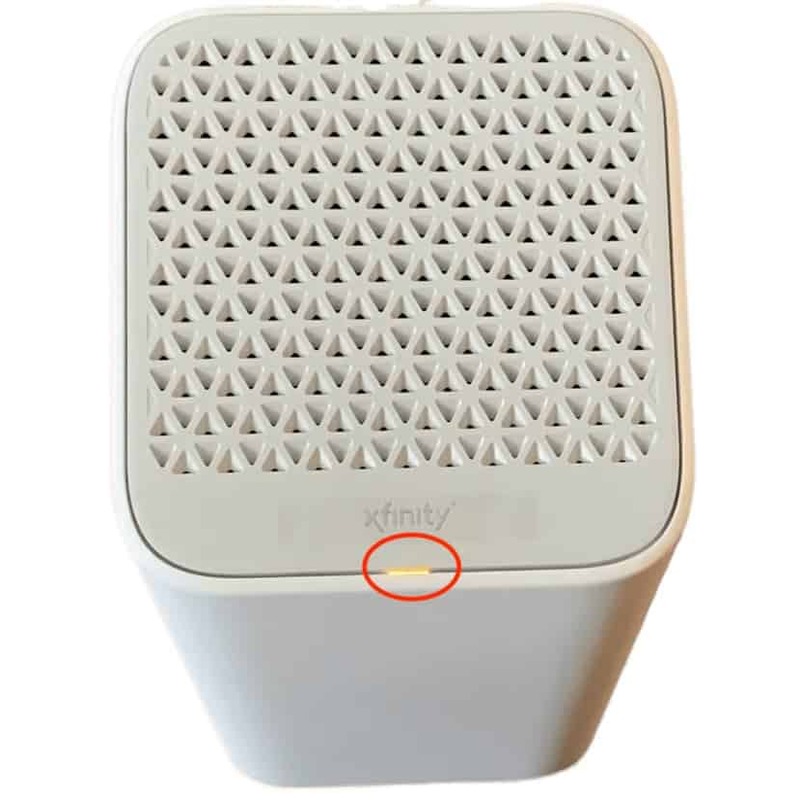
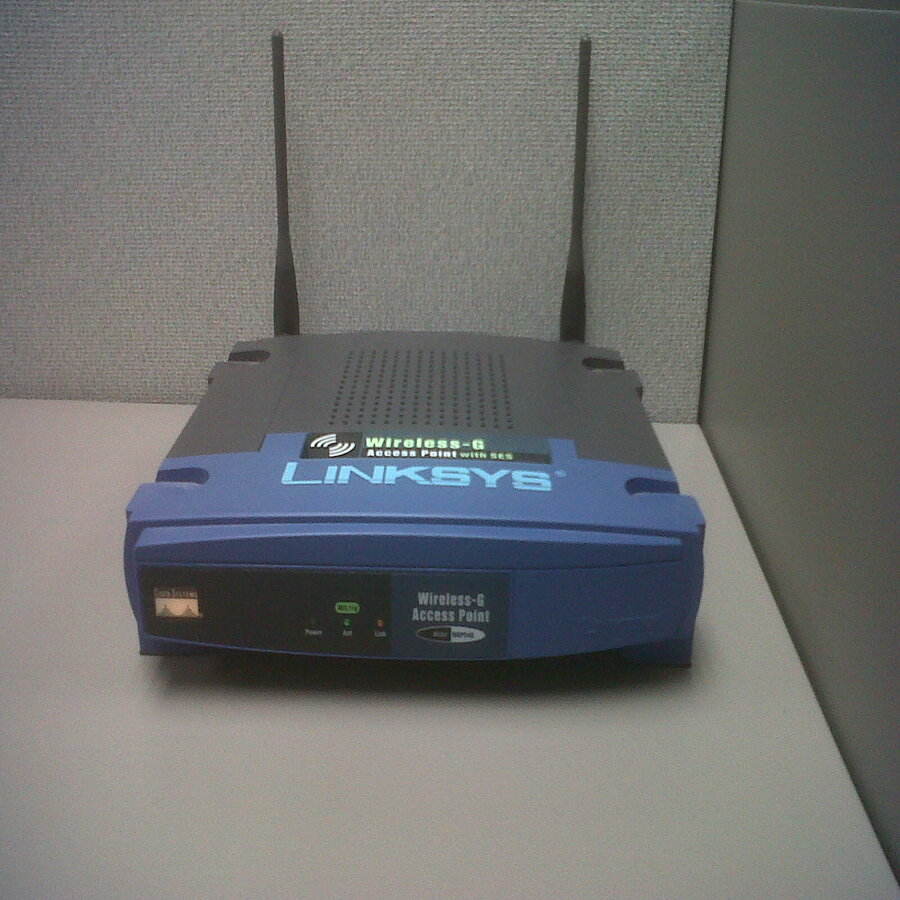
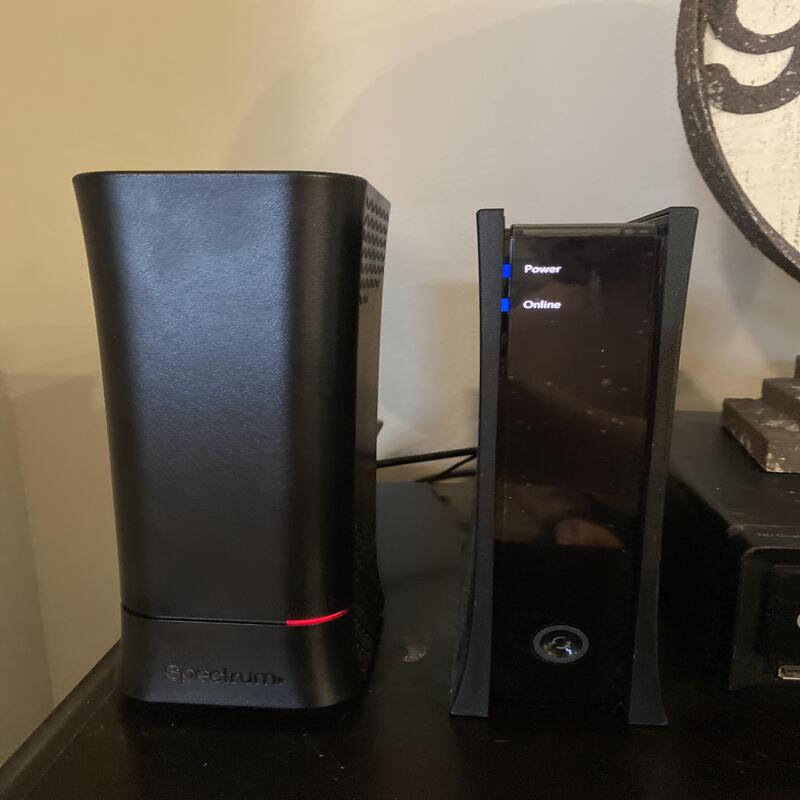
Modern routers, including the Spectrum models, are equipped with various indicator lights that convey different statuses. A steady green light generally means the router is functioning properly, while a blinking green light might indicate data activity. Conversely, a red light can signify a range of problems, from minor glitches to more severe connectivity issues. It may indicate a loss of internet connection, hardware malfunction, or even overheating. Therefore, recognizing what each light signifies helps you diagnose the problem more accurately.
Common Causes of the Red Light
Several common issues can trigger the red light on your Spectrum router. One frequent cause is loss of internet service from your Internet Service Provider (ISP). Hardware issues, such as a malfunctioning router or faulty cables, can also lead to a red light. Additionally, overheating due to prolonged use or poor ventilation can trigger the red indicator. Firmware issues and software glitches within the router can also cause this problem. Therefore, understanding these common causes is the first step toward effective troubleshooting.
Initial Troubleshooting Steps
Before diving into more complex solutions, it’s essential to tackle basic troubleshooting steps. Therefore, starting with these initial checks can often resolve the issue quickly.
Checking the Connections
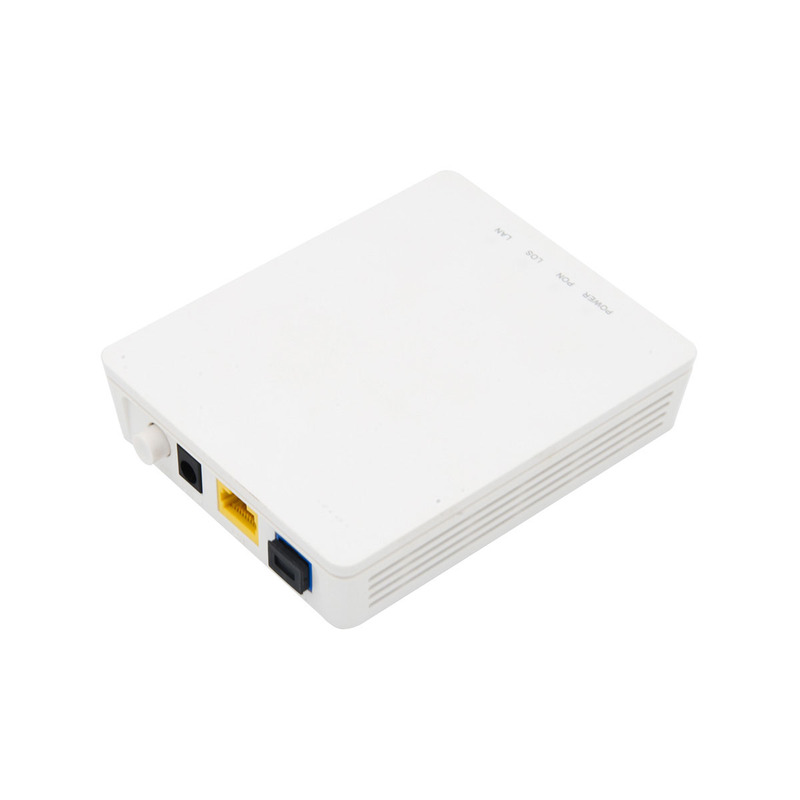
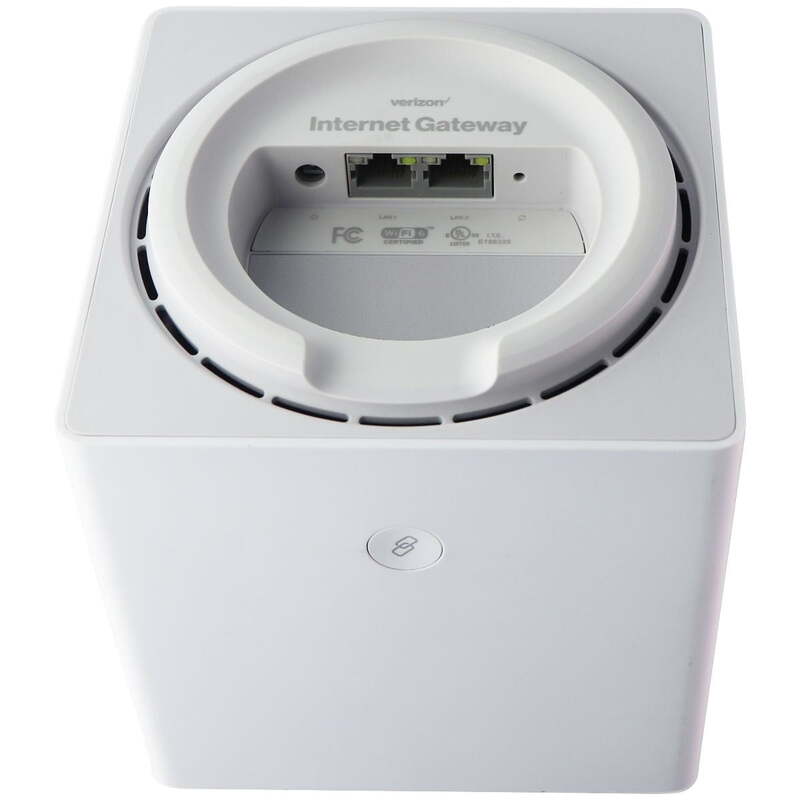
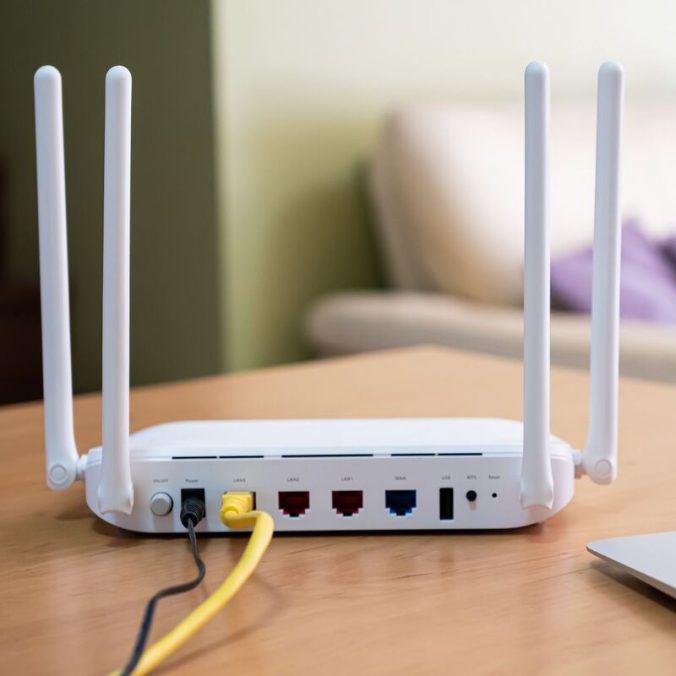
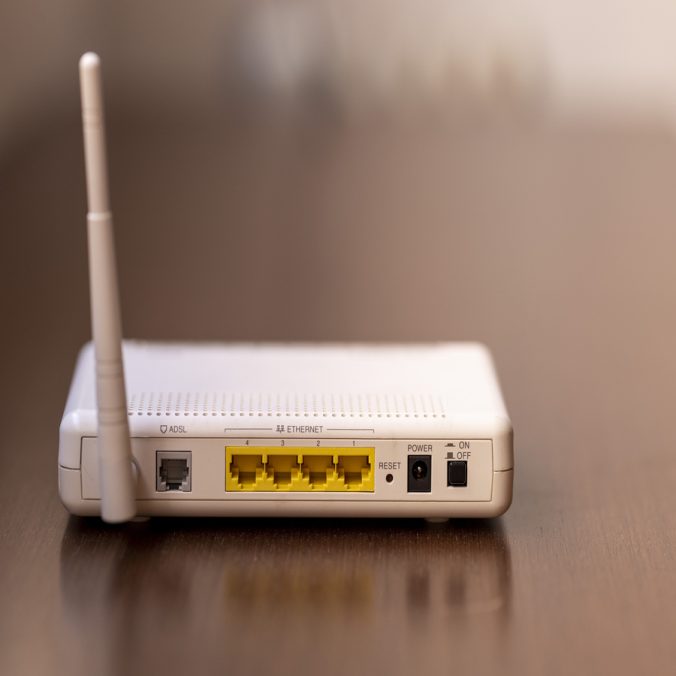
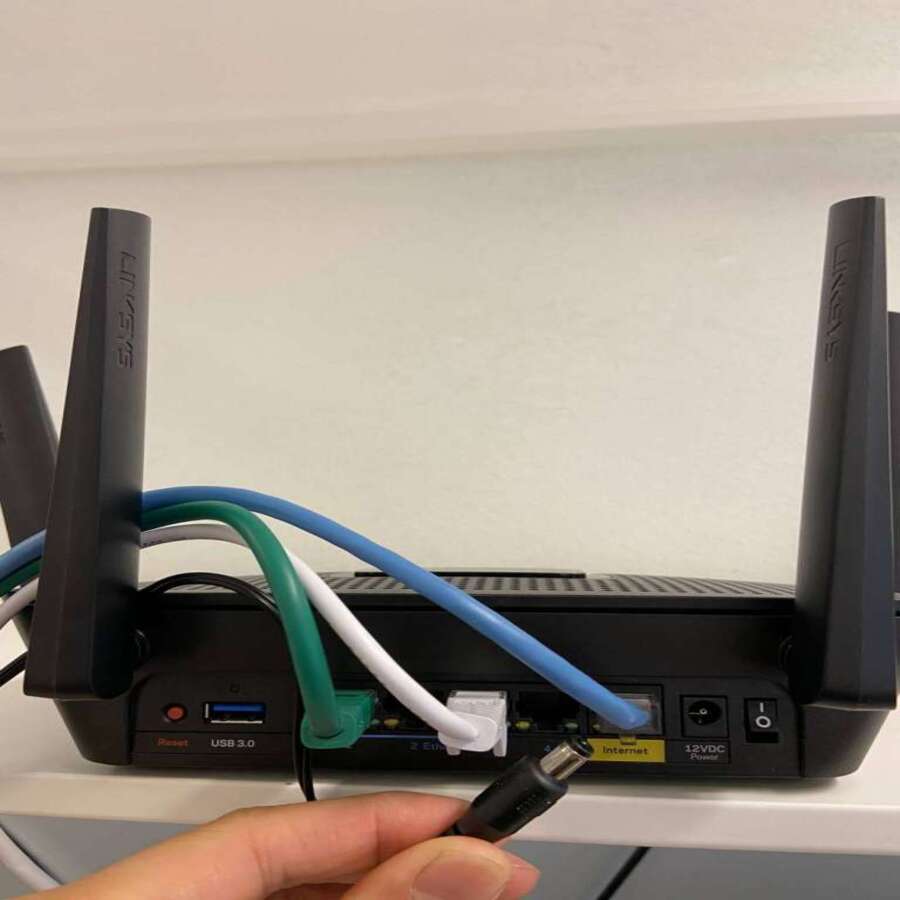
Begin by ensuring that all connections are secure and correctly plugged into their respective ports. Check the power cable to make sure it’s properly connected and receiving power. Inspect the Ethernet cables connecting the router to your modem and other devices to ensure they are not damaged or loose. Sometimes, a simple reconnection can resolve the issue. Therefore, thoroughly checking and securing all connections is a vital initial step in troubleshooting.
Restarting the Router
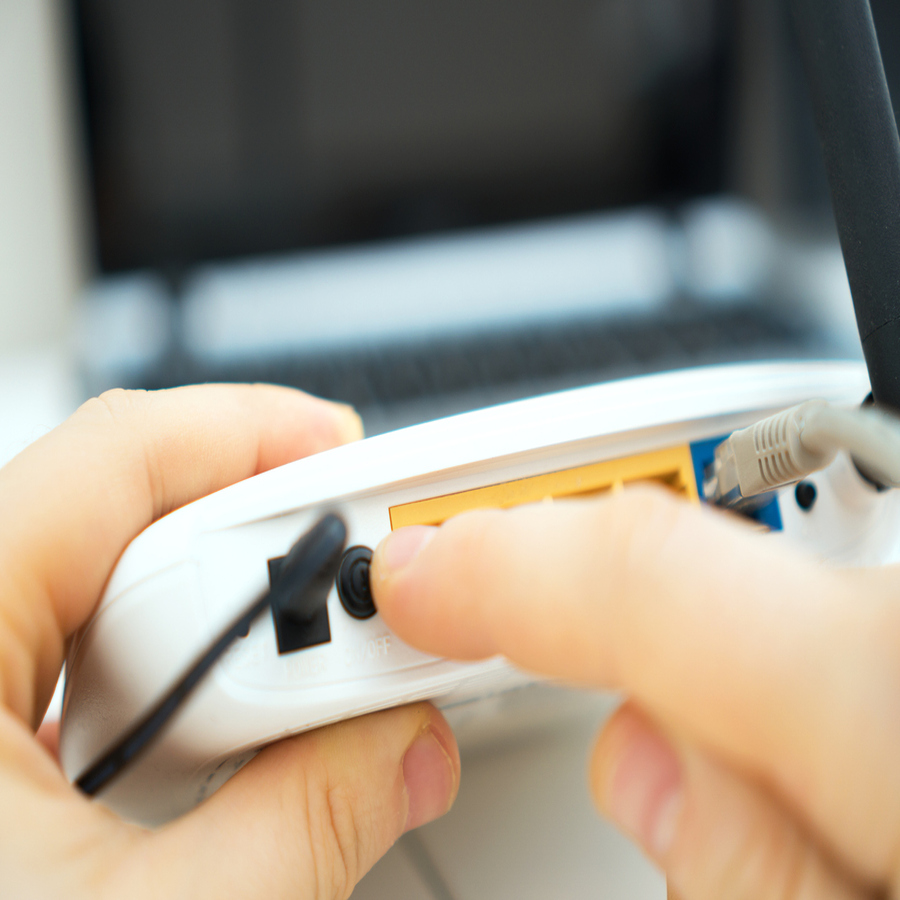
If checking the connections doesn’t resolve the issue, the next step is to restart your router. Unplug the router from the power source and wait for about 30 seconds before plugging it back in. This allows the router to reset and clear any temporary glitches affecting its performance. Once the router powers back on, observe the indicator lights to see if the red light persists. Often, a simple restart can resolve minor connectivity issues. Therefore, restarting the router is an essential and straightforward troubleshooting step.
Advanced Troubleshooting Techniques
If basic troubleshooting steps fail, it might be necessary to proceed with more advanced techniques. Therefore, understanding these methods can help resolve more challenging issues.
Updating Firmware
Outdated firmware can cause various issues, including the red light on your Spectrum router. Access the router’s admin settings via a web browser by entering the IP address provided in the user manual. Once logged in, check if a firmware update is available. Follow the on-screen instructions to update the firmware, ensuring that the router is continuously powered during the process. Updating the firmware can resolve bugs and enhance the router’s performance. Therefore, keeping the firmware updated is crucial for maintaining a stable and efficient router.
Resetting to Factory Settings
If updating the firmware doesn’t resolve the issue, performing a factory reset might be necessary. Locate the reset button on your router, usually found at the back or bottom of the device. Press and hold the reset button for approximately 10 seconds using a paperclip or a similar tool until the router restarts. This will revert the router to its original settings, potentially resolving configuration issues causing the red light. However, be prepared to reconfigure your network settings and reconnect your devices after the reset. Therefore, a factory reset is a powerful troubleshooting technique for resolving persistent issues.
When to Contact Spectrum Support
Sometimes, despite your best efforts, troubleshooting on your own may not solve the issue. Therefore, knowing when to contact Spectrum support is essential.
Assessing the Situation
Before contacting Spectrum support, ensure you’ve exhausted all basic and advanced troubleshooting methods outlined in this guide. Make notes of any error messages or unusual behavior observed during your troubleshooting efforts. This information will be helpful to the support team in diagnosing the problem. If the red light persists despite following all steps, it might indicate a more severe issue requiring professional assistance. Therefore, assessing the situation thoroughly prepares you for effective communication with Spectrum support.
Contacting Customer Service
If you decide to contact Spectrum support, have your account information and router model number ready. This will help the support representative identify your device and account quickly. Describe the issue in detail, including any error messages and steps you’ve taken to troubleshoot the problem. The support team can run remote diagnostics, guide you through additional troubleshooting steps, or arrange for a technician visit if necessary. Therefore, contacting Spectrum customer service is a vital step when other troubleshooting methods have failed.

Preventative Measures for Future Issues
Preventative measures can help avoid future connectivity problems and maintain your router’s performance. Therefore, implementing these practices ensures a more stable internet connection.
Regular Maintenance
Regular maintenance of your router can prevent many issues that lead to a red light. Periodically check and replace any damaged cables, ensuring all connections remain secure. Clean the router to remove dust and debris that might affect its performance. Keep the firmware updated by regularly checking for updates on the router’s admin settings page. Regular reboots can also clear temporary glitches. Therefore, regular maintenance is key to sustaining your router’s efficiency and reliability.
Optimal Router Placement
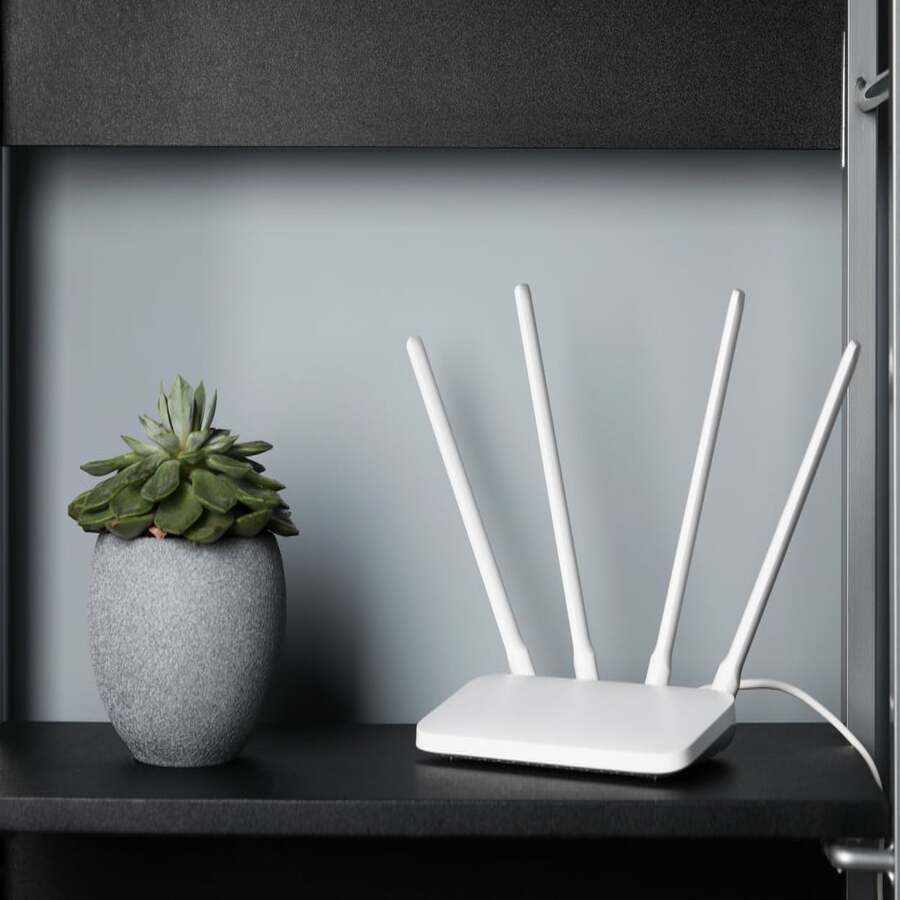
The placement of your router significantly impacts its performance and connectivity. Position the router in a central location, away from walls, floors, and electronic devices that might cause interference. Ensure adequate ventilation to prevent overheating, avoiding enclosed spaces and direct sunlight. Elevate the router by placing it on a shelf to enhance signal distribution. By optimizing the router’s placement, you can prevent many connectivity issues. Therefore, strategic router placement is essential for maintaining a stable internet connection.
Conclusion
Encountering a red light on your Spectrum router can be a frustrating experience, disrupting your internet connection and daily activities. Understanding the meaning of indicator lights and common causes of the red light is the first step towards effective troubleshooting. Initial steps like checking connections and restarting the router often resolve minor issues. However, more advanced techniques, such as updating firmware or performing a factory reset, might be necessary for persistent problems. Knowing when to contact Spectrum support ensures you receive professional assistance when needed.
Preventative measures, including regular maintenance and optimal router placement, can help avoid future connectivity issues and maintain the router’s performance. By implementing these practices, you can ensure a stable and reliable internet connection, enhancing your overall online experience.
This comprehensive guide has equipped you with the knowledge and steps needed to address and resolve the red light issue on your Spectrum router. Therefore, you are now well-prepared to tackle any connectivity problems, ensuring a seamless and uninterrupted internet experience.